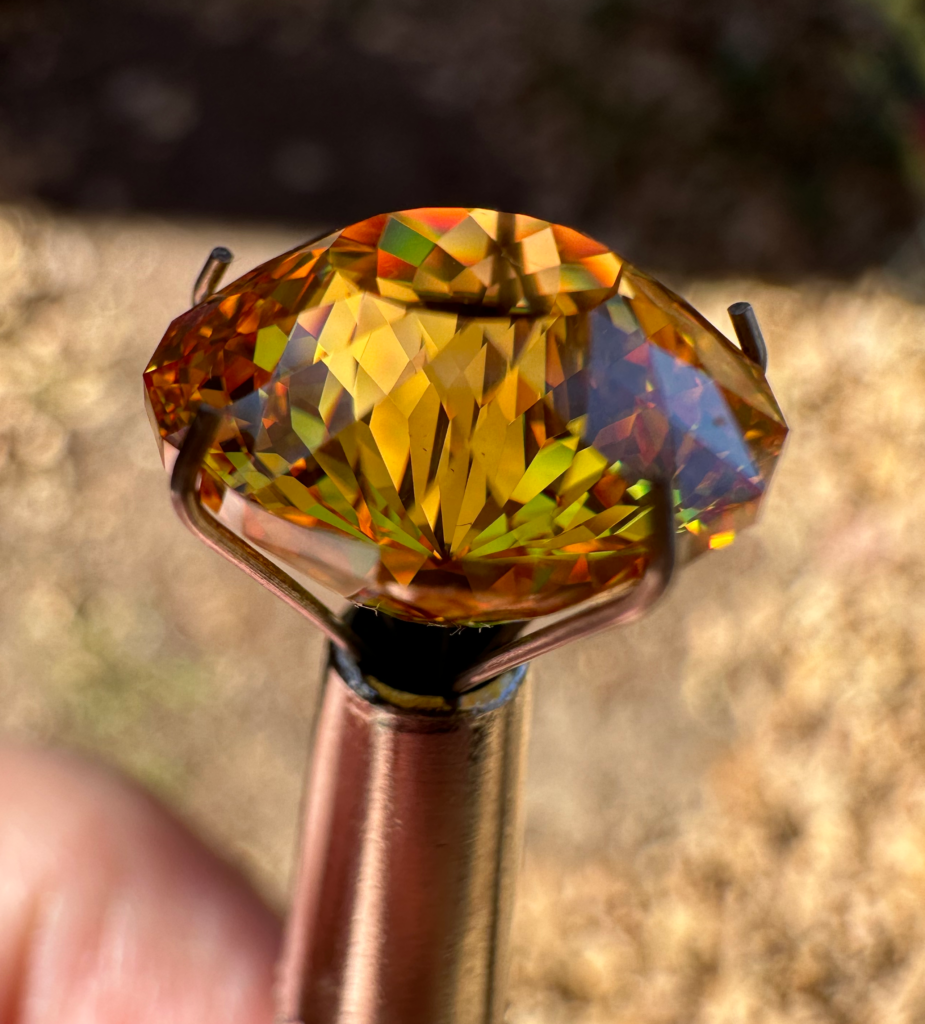
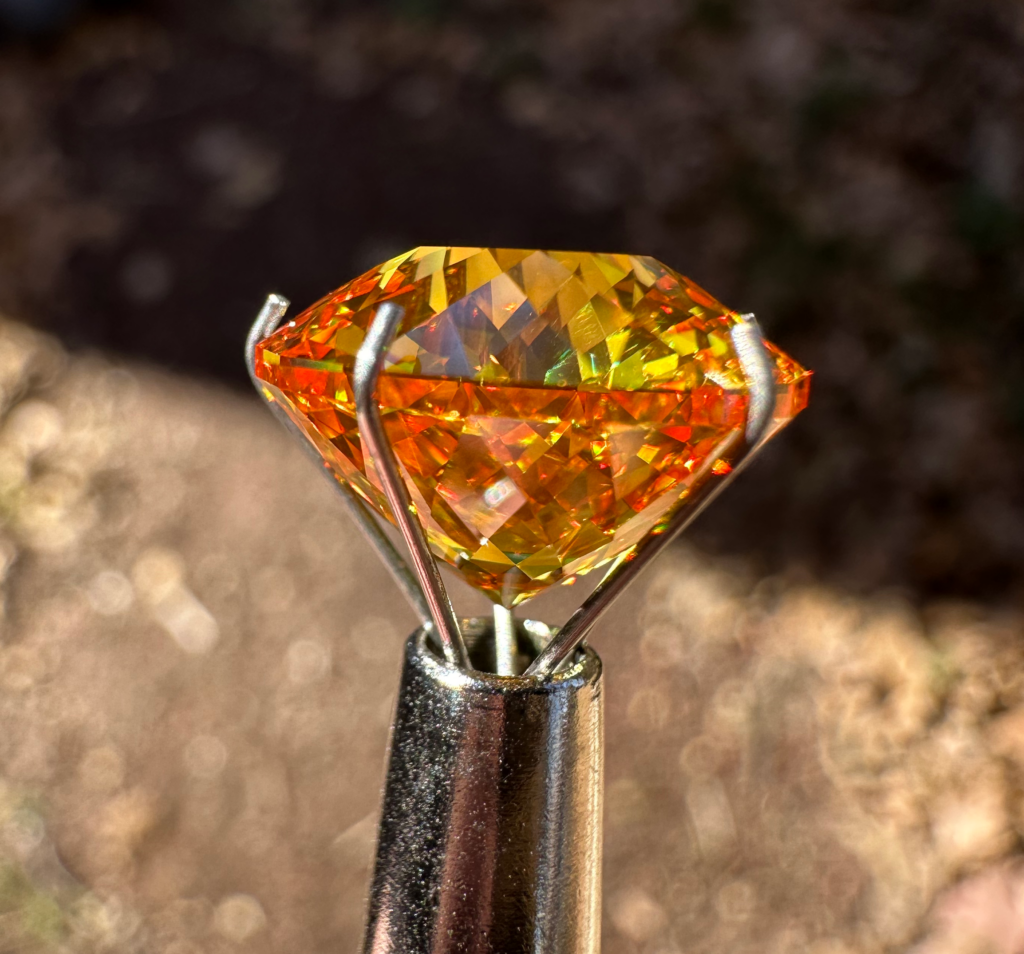
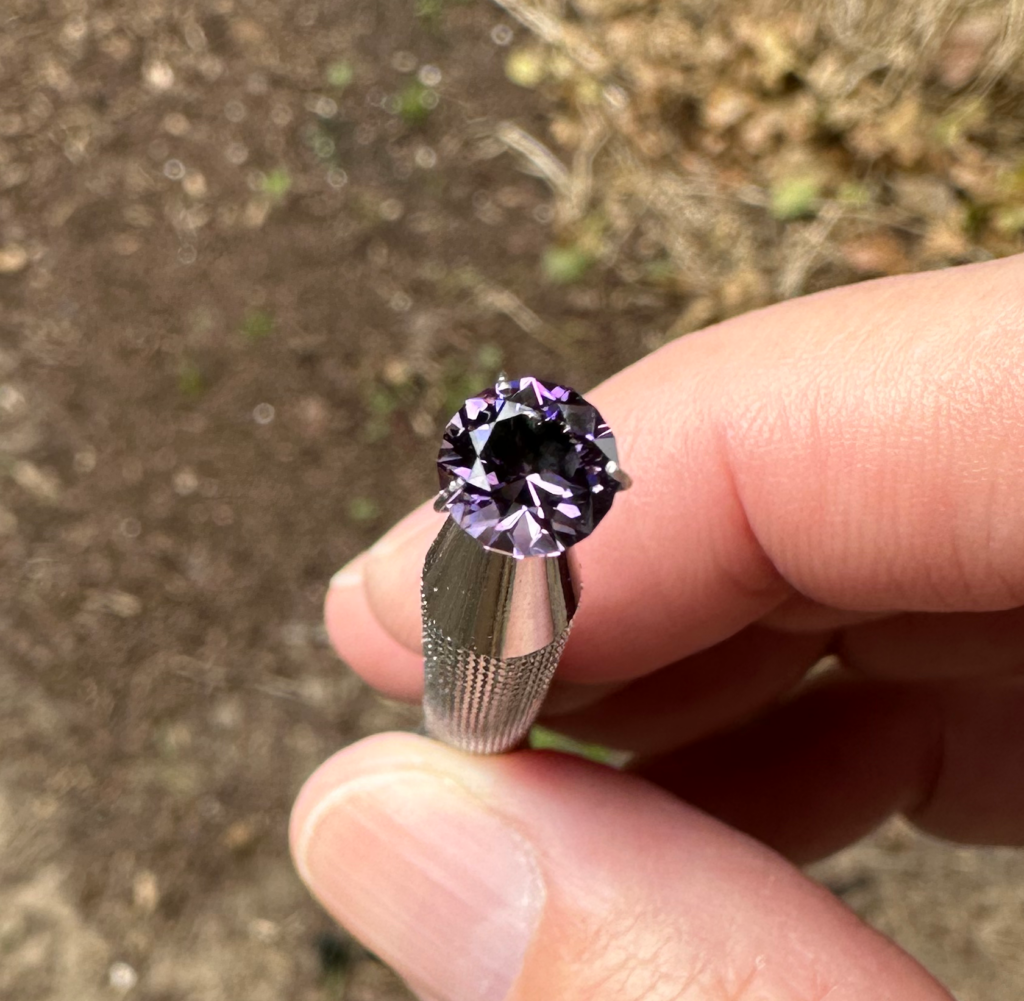
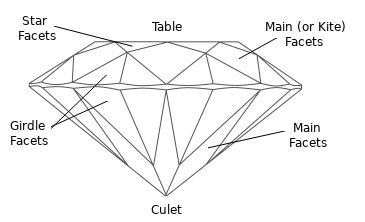
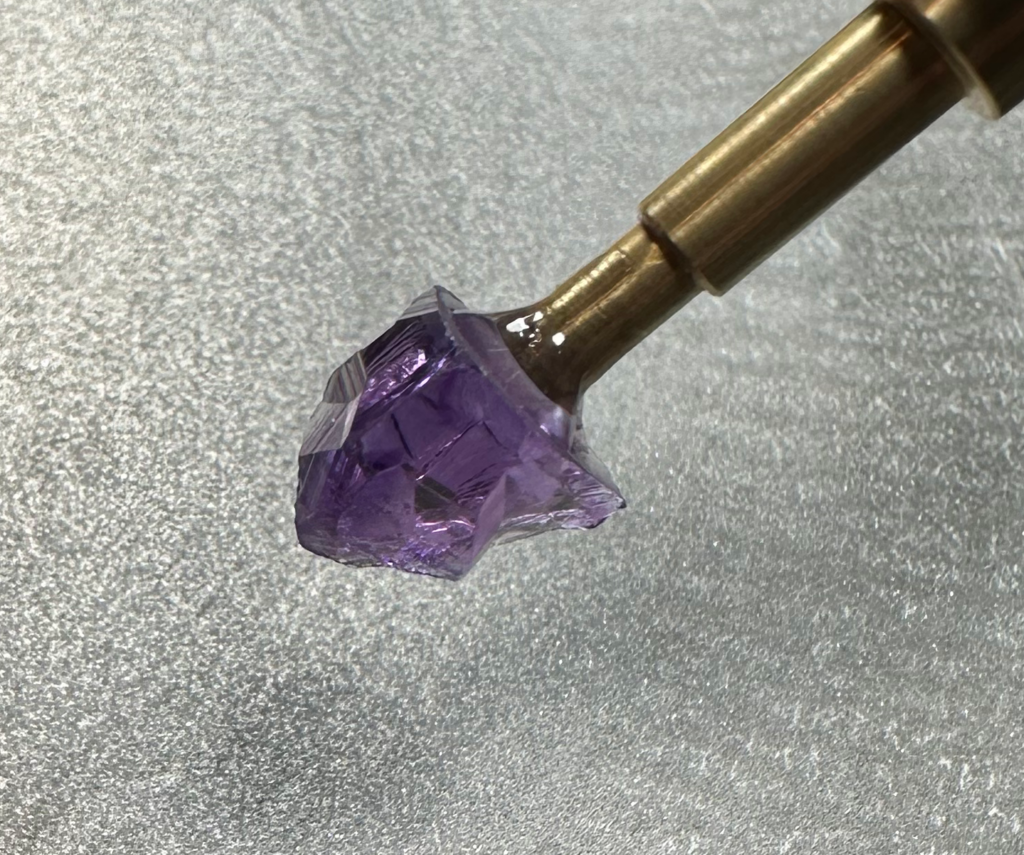
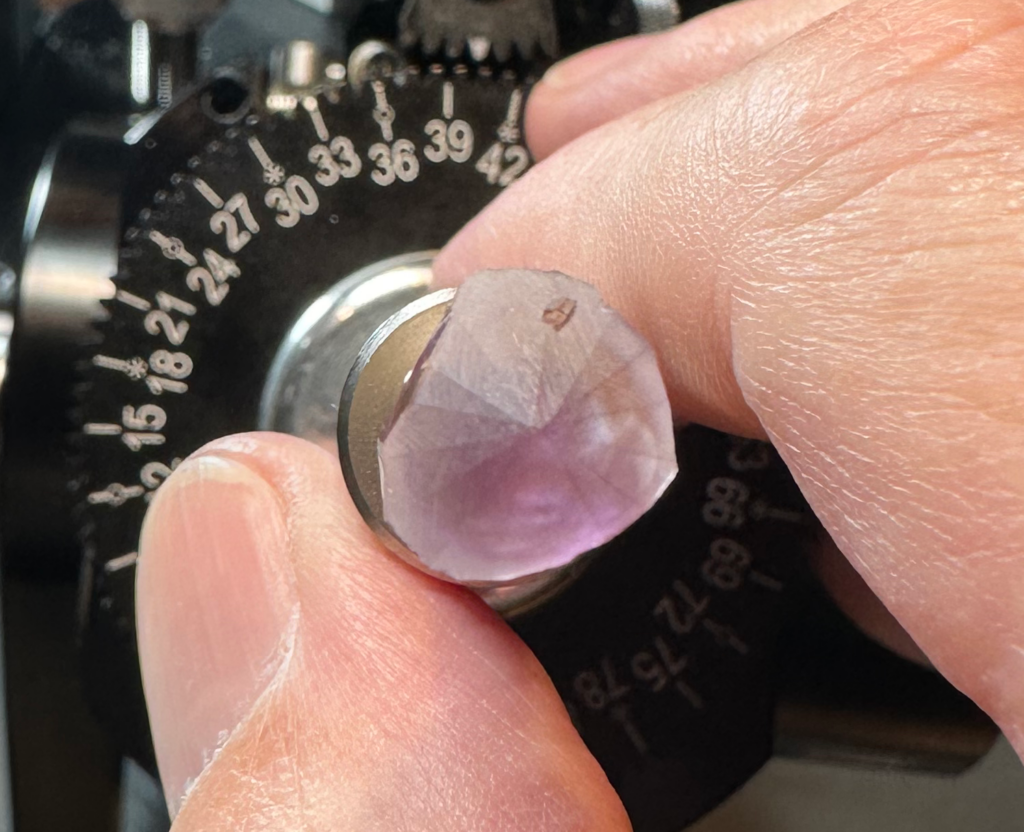
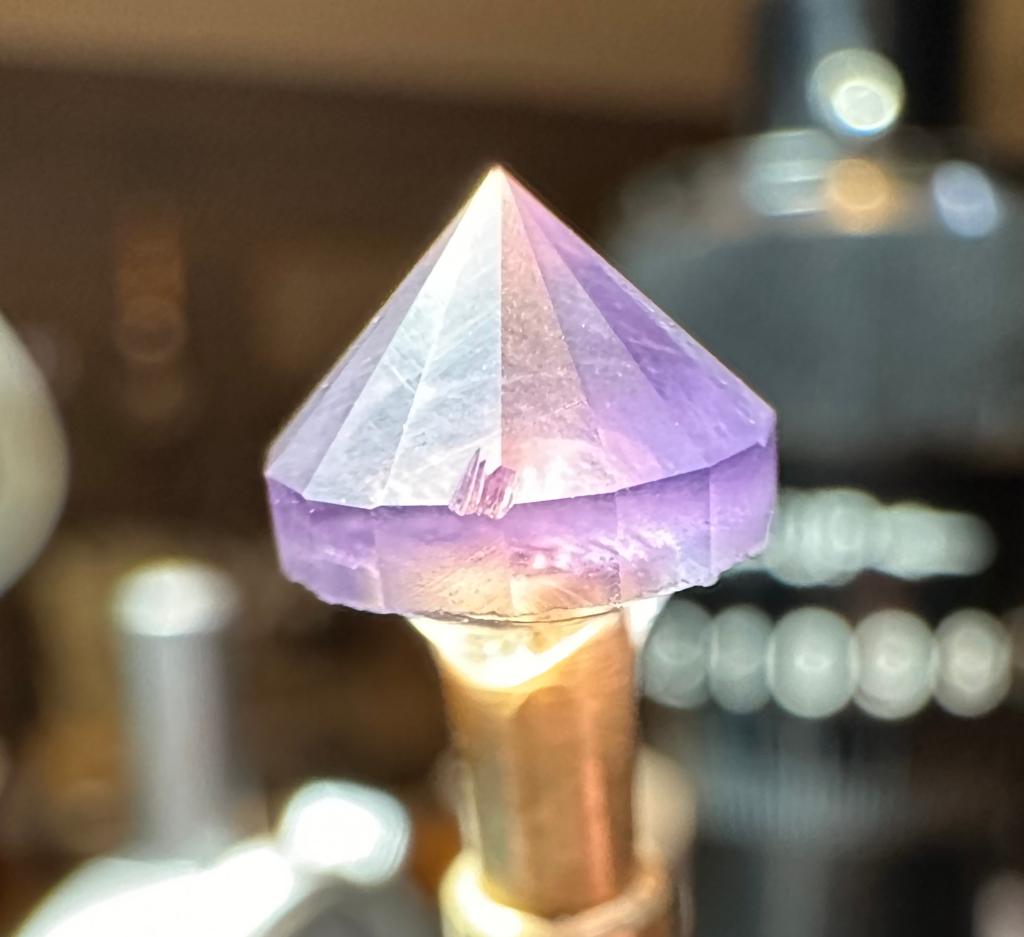
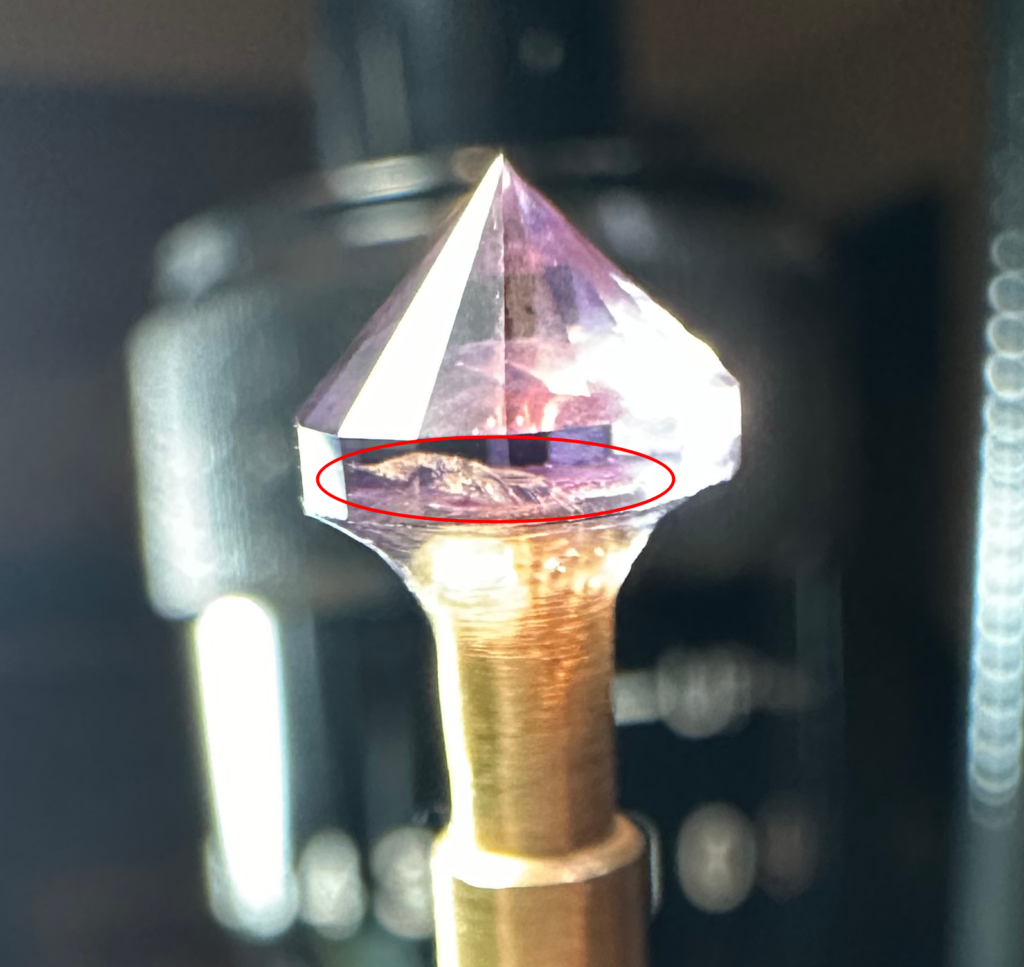
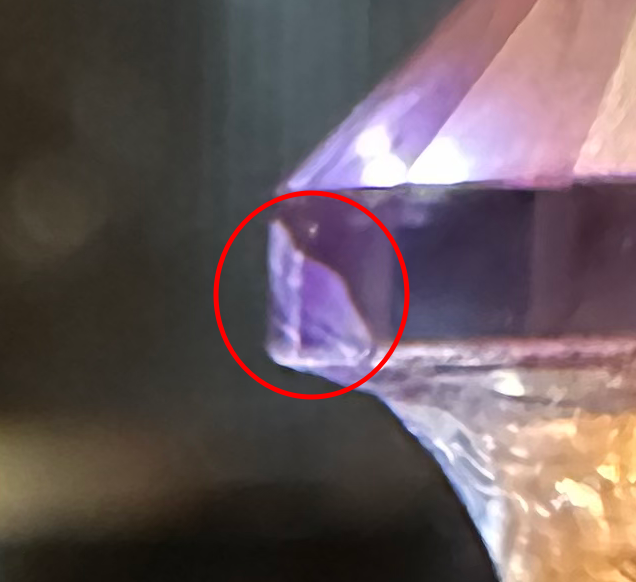
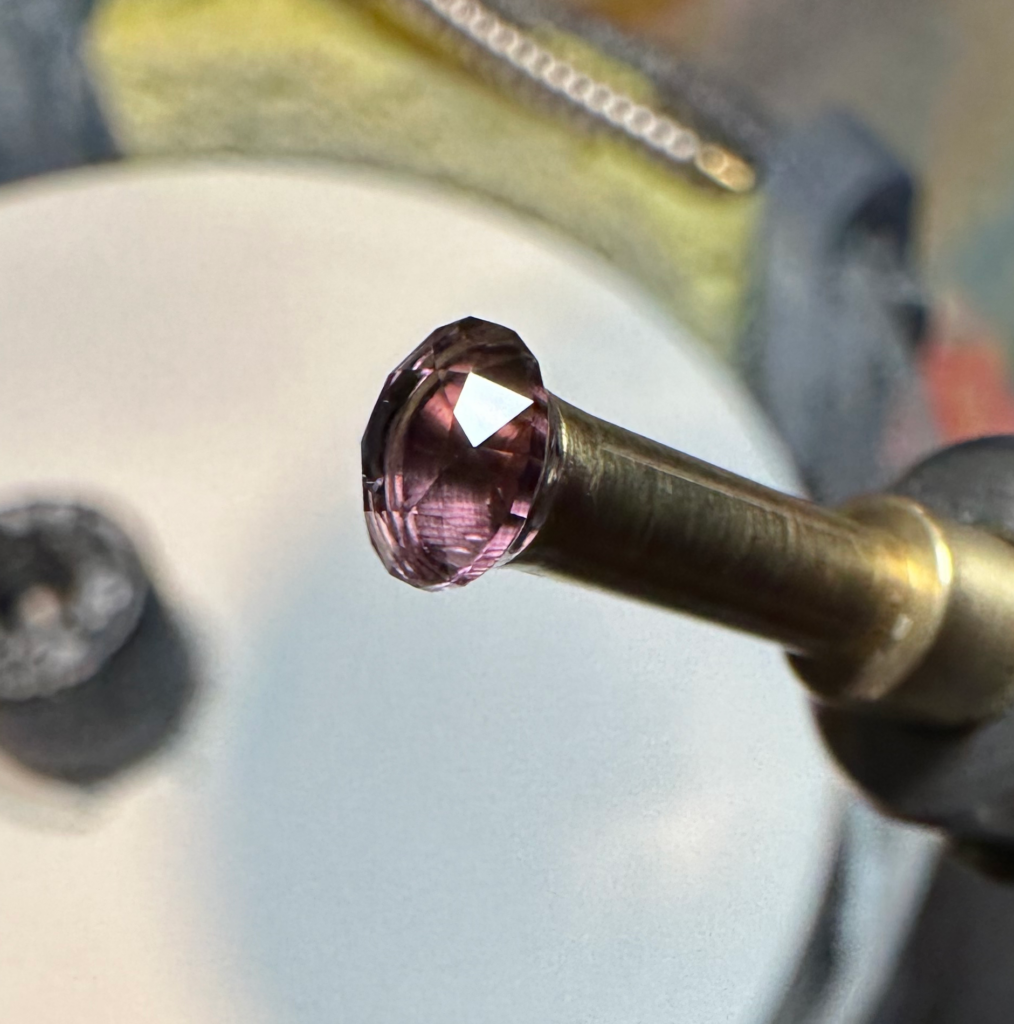
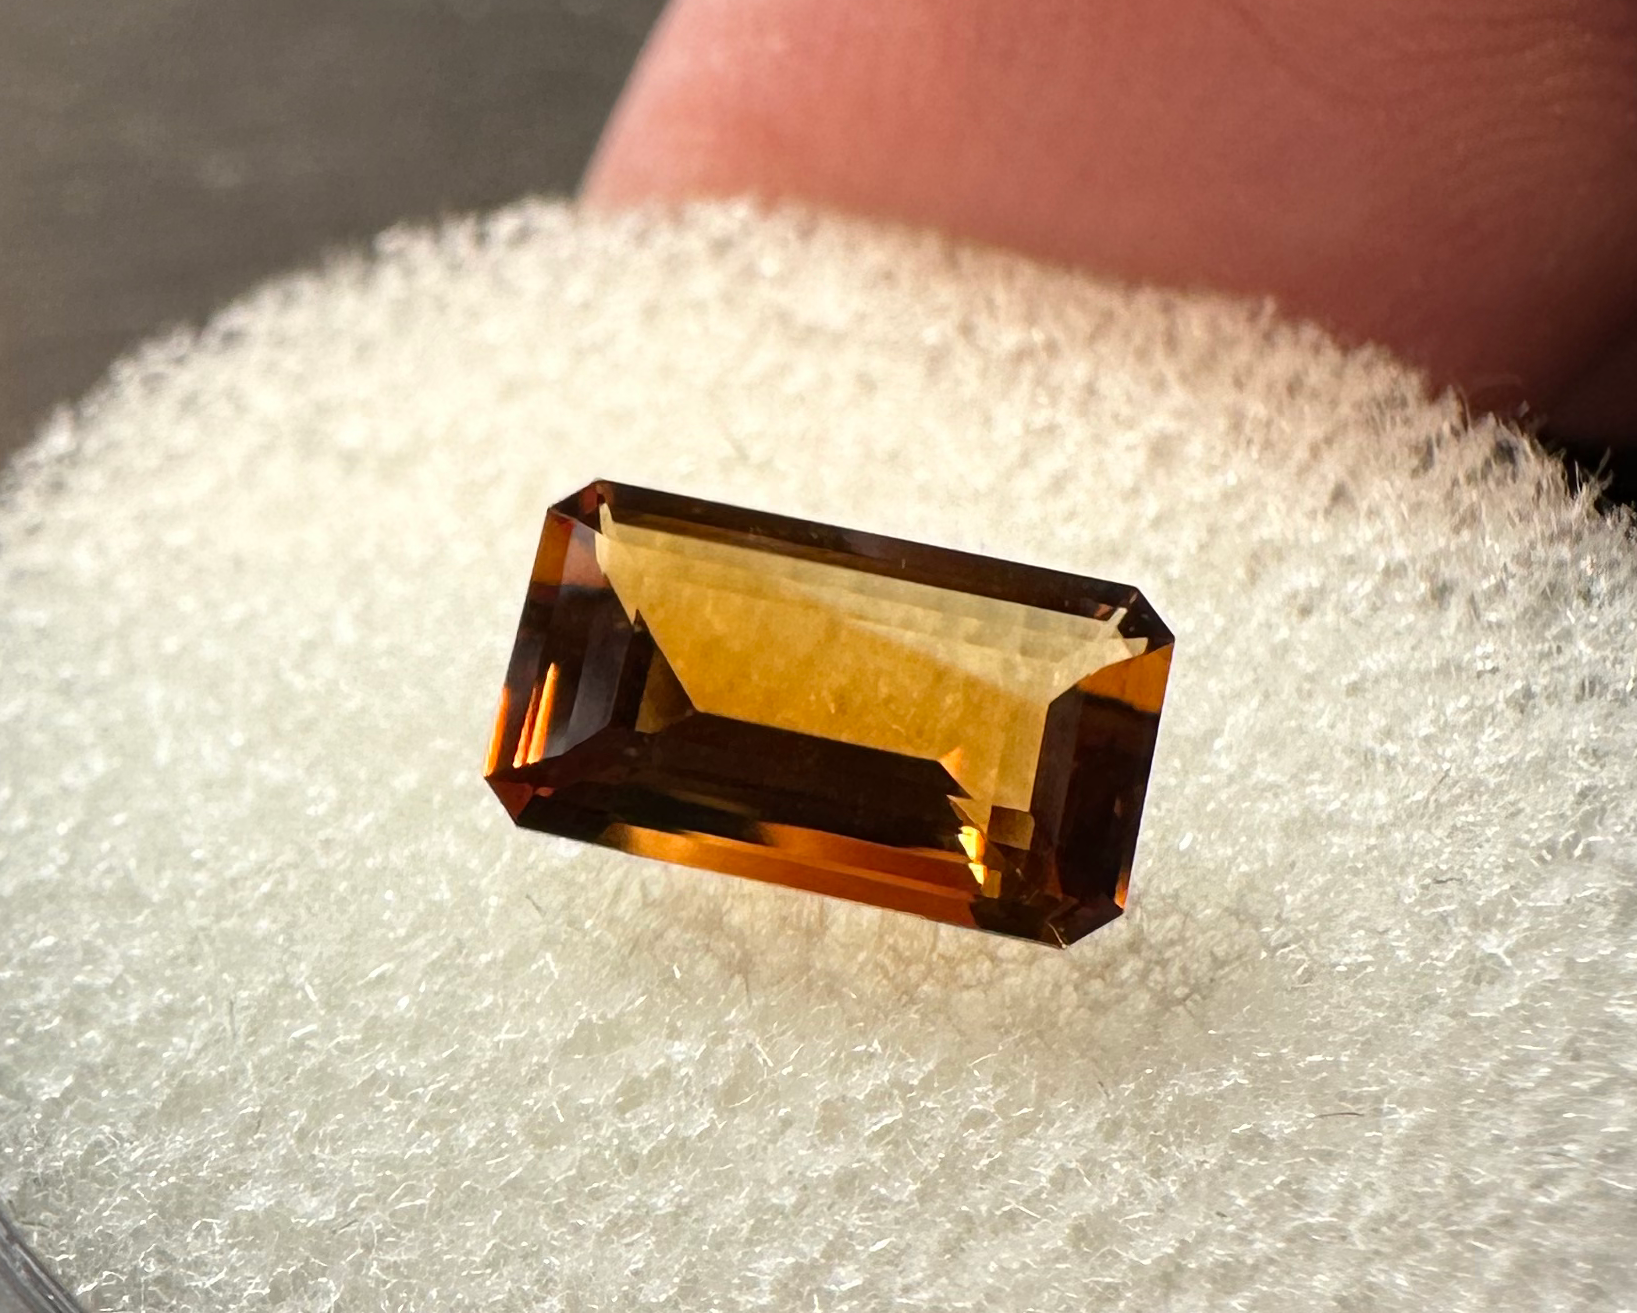
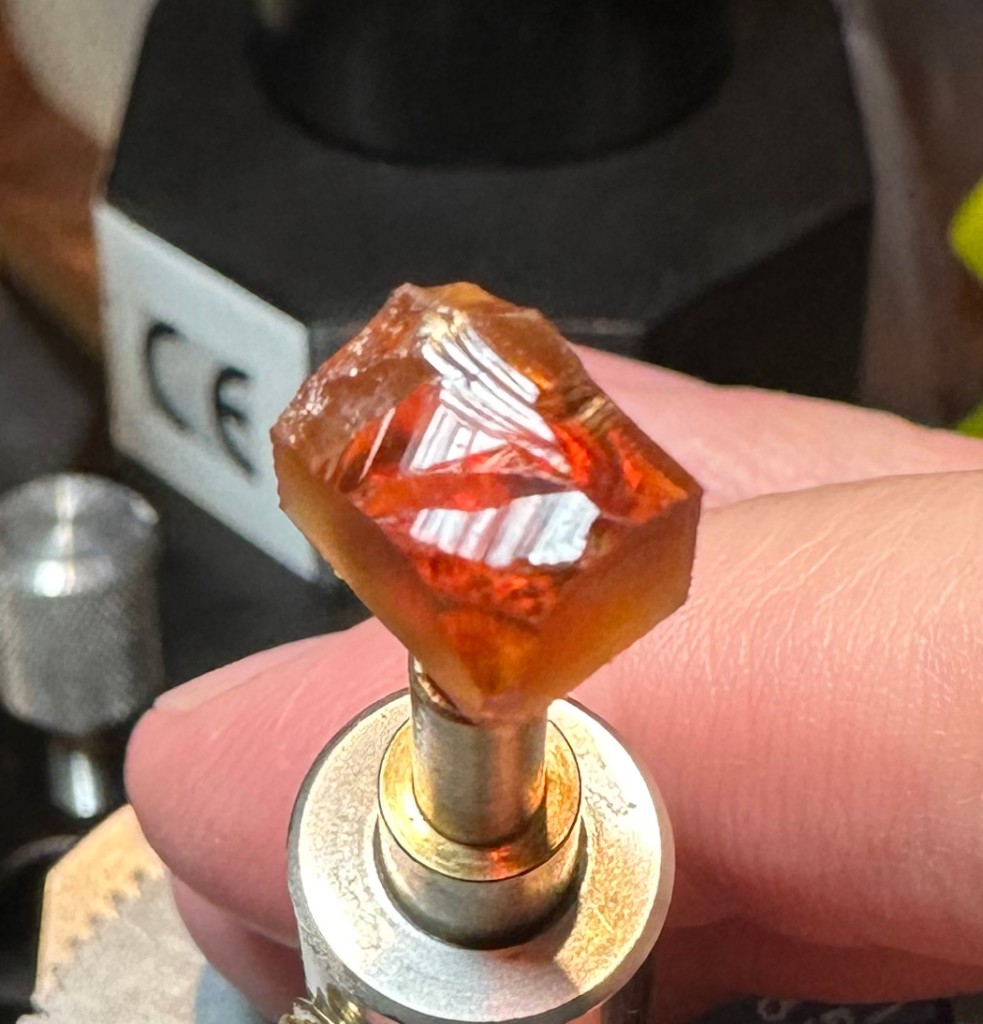
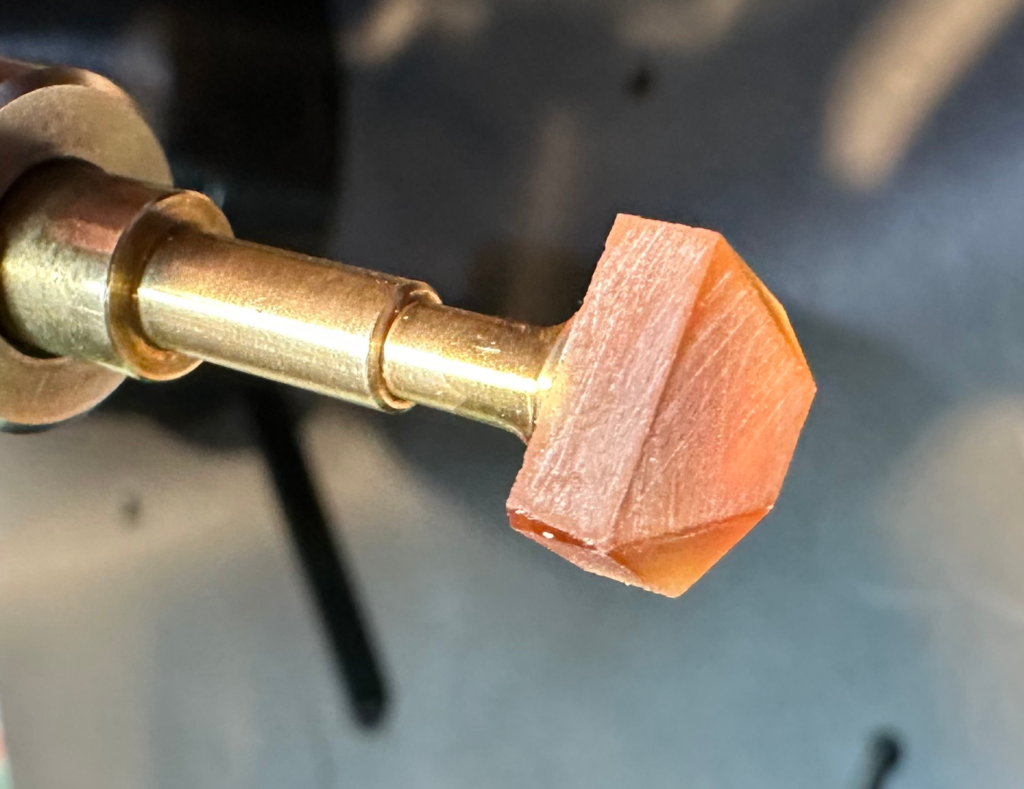
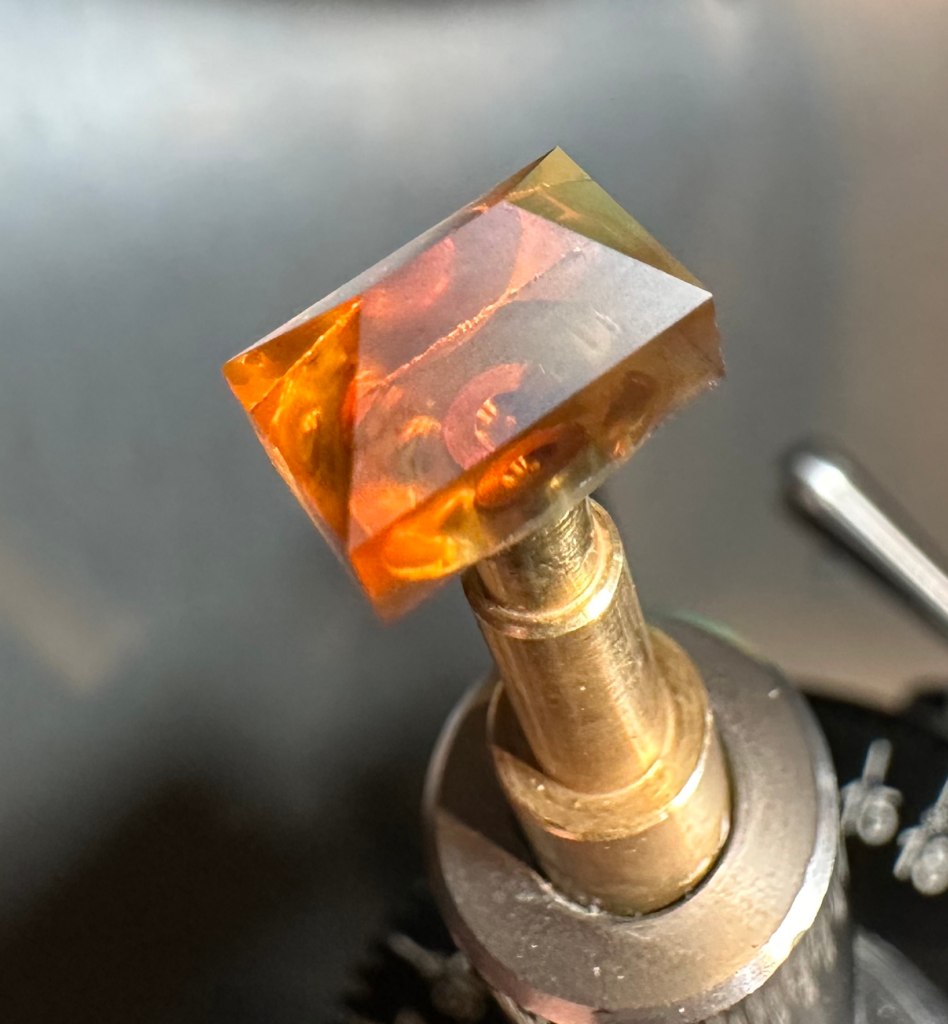
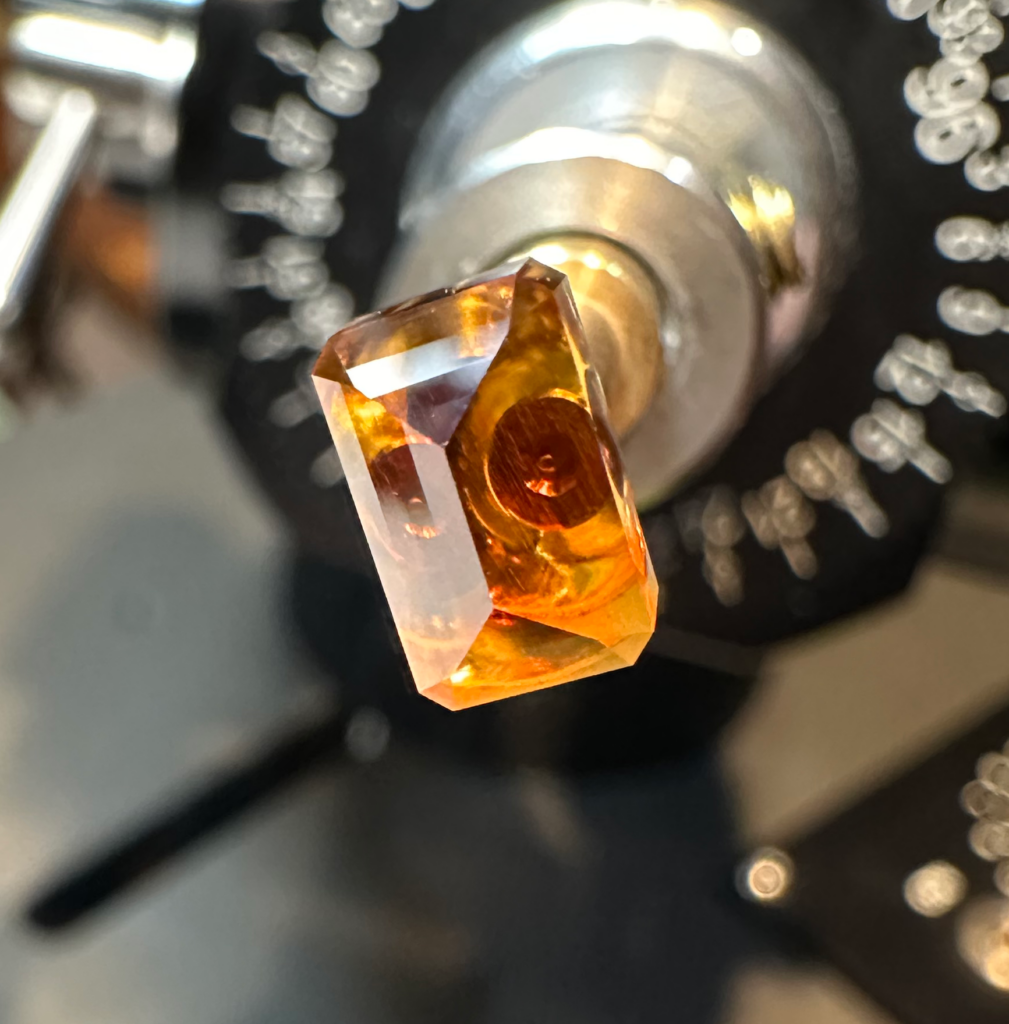
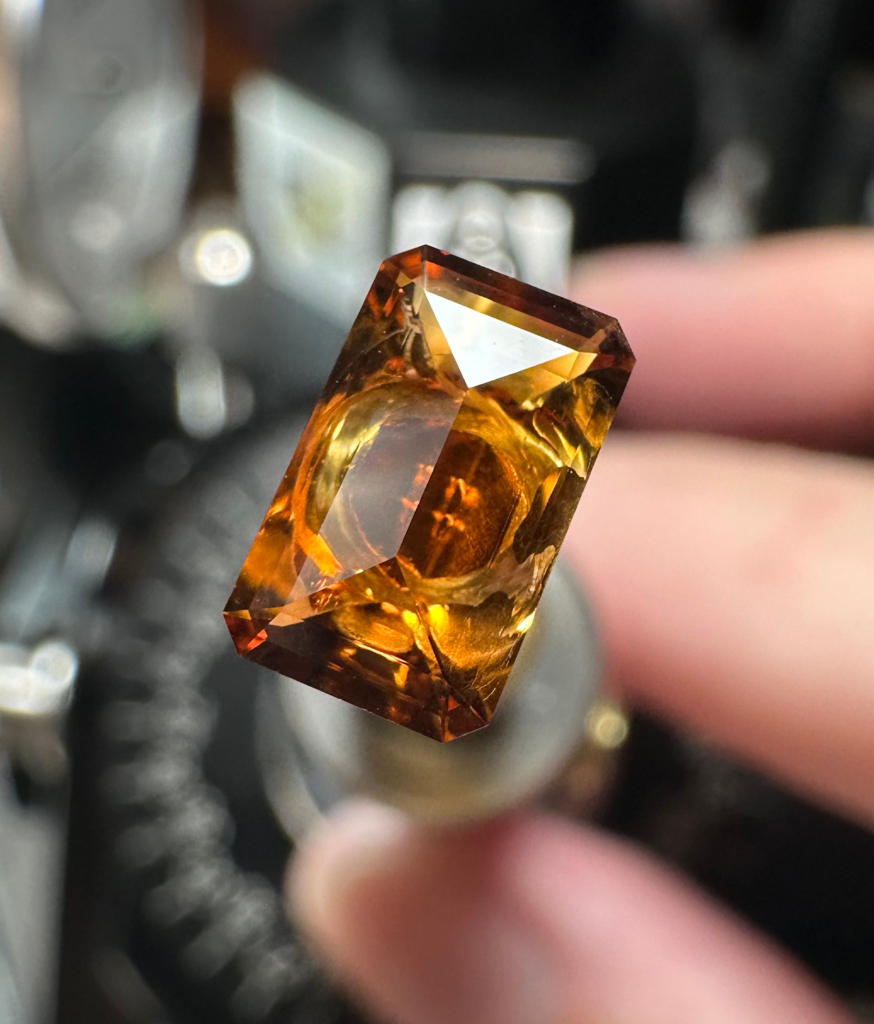
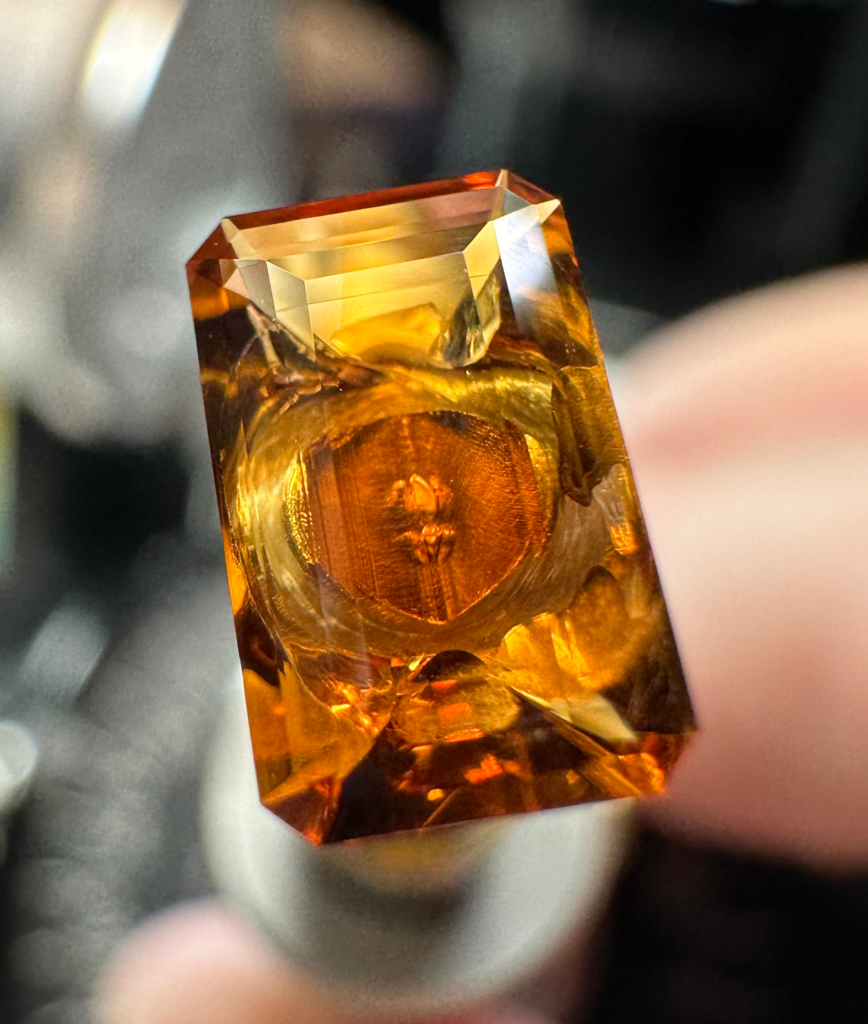
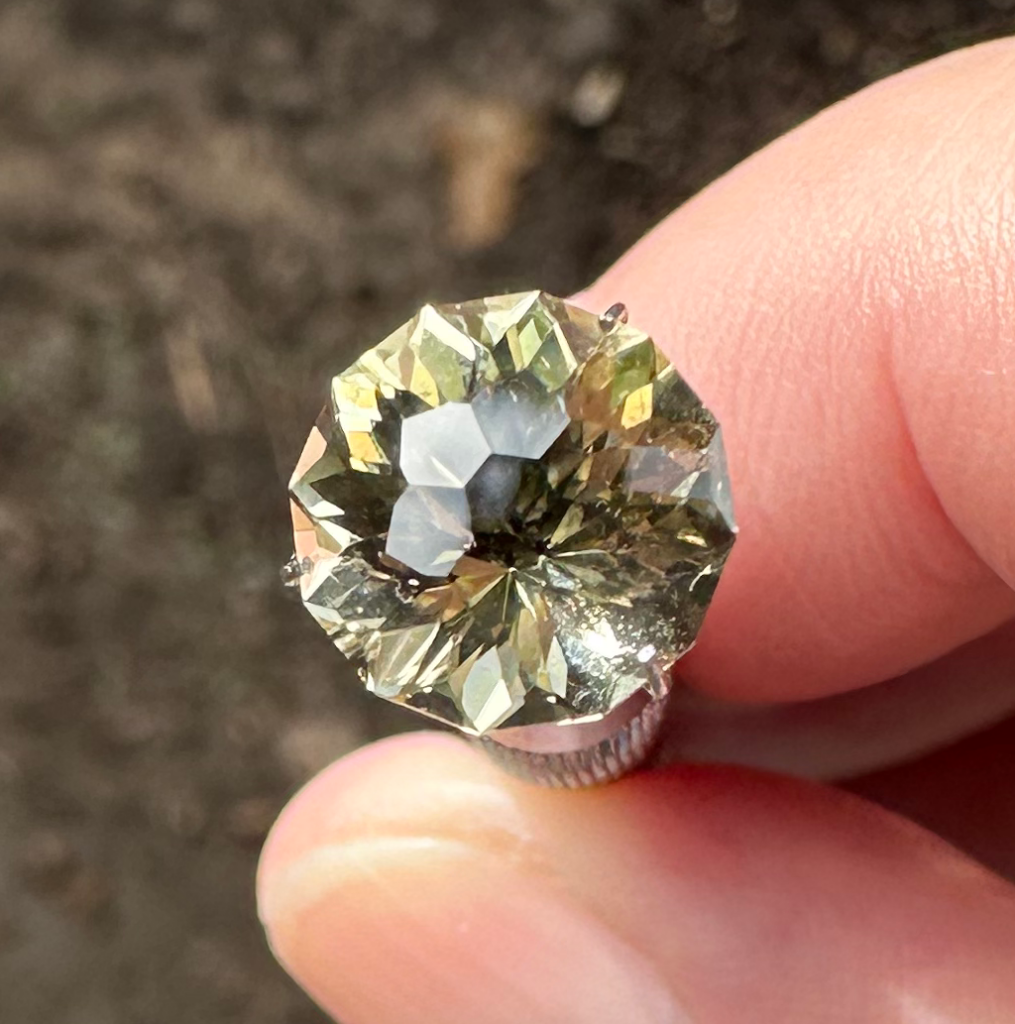
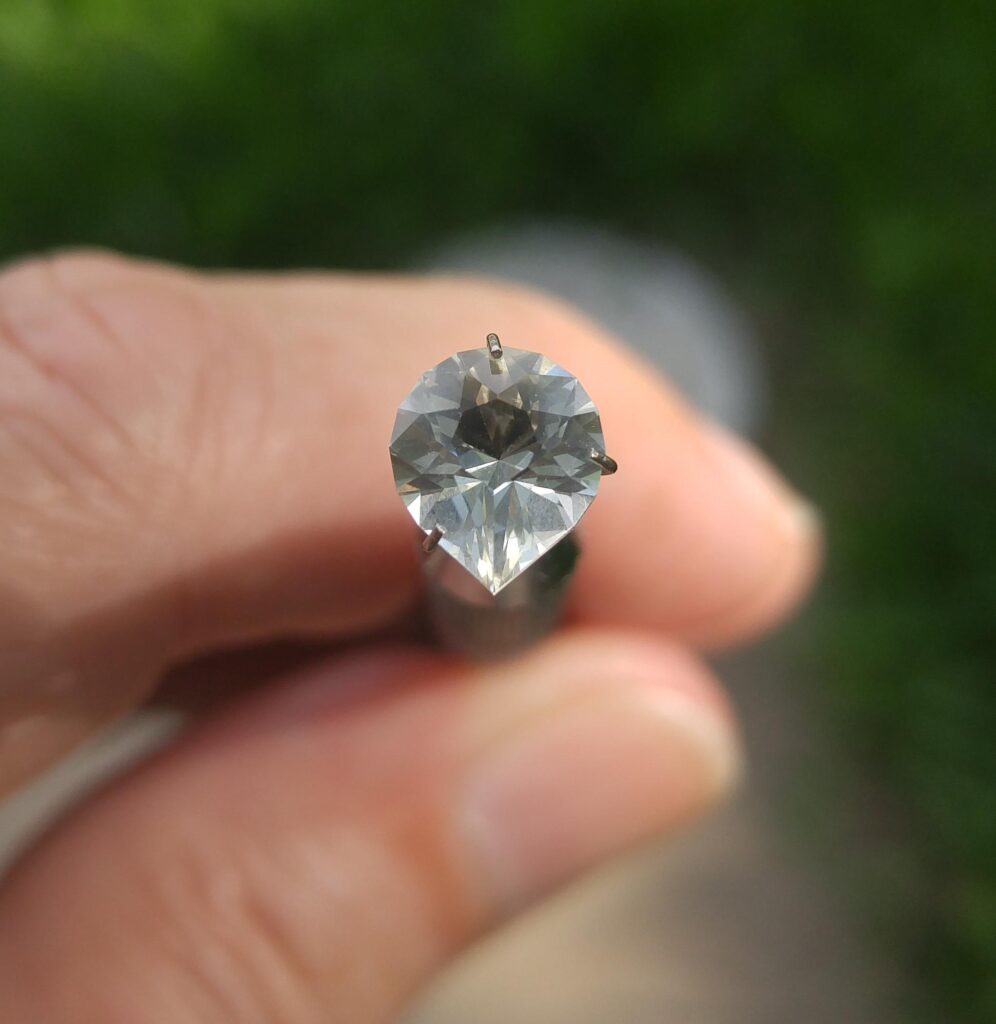
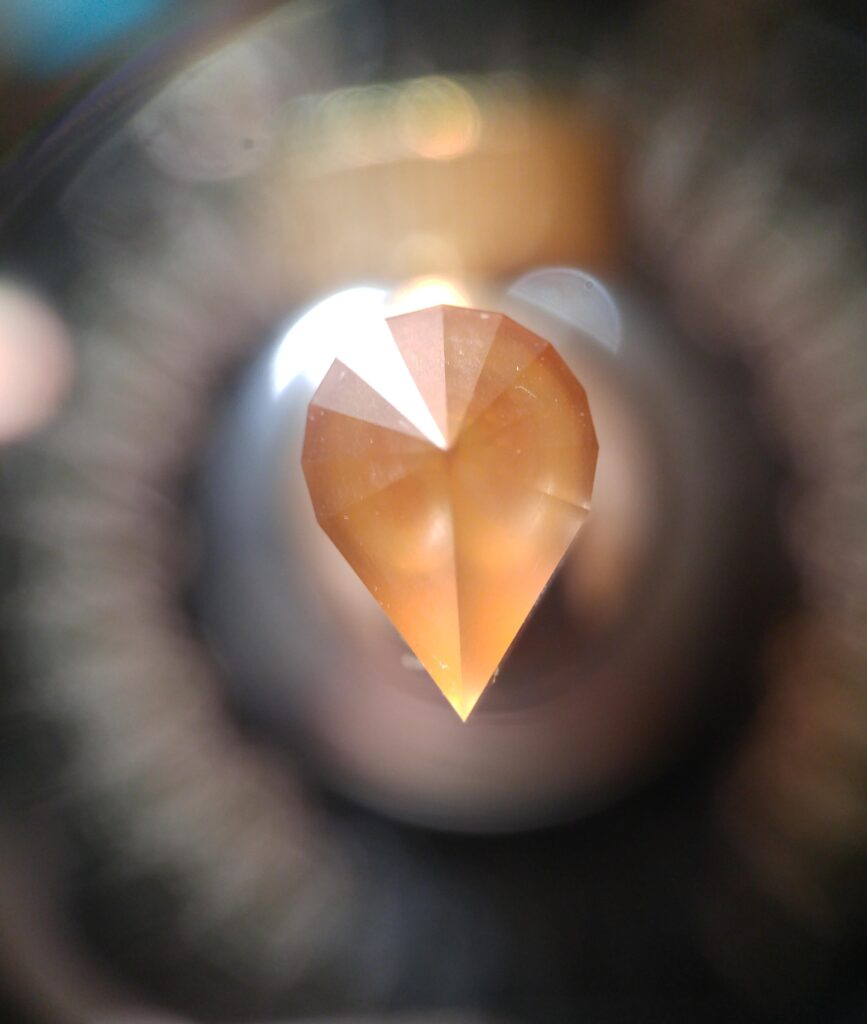
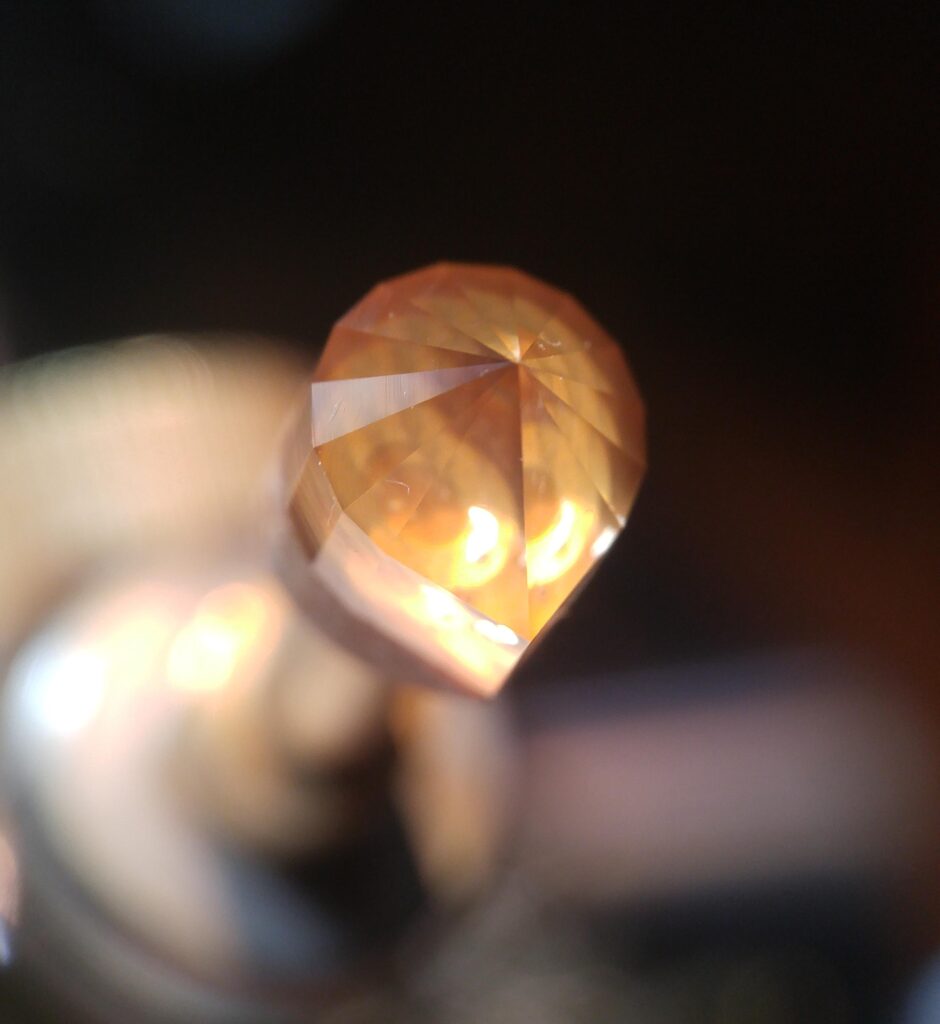
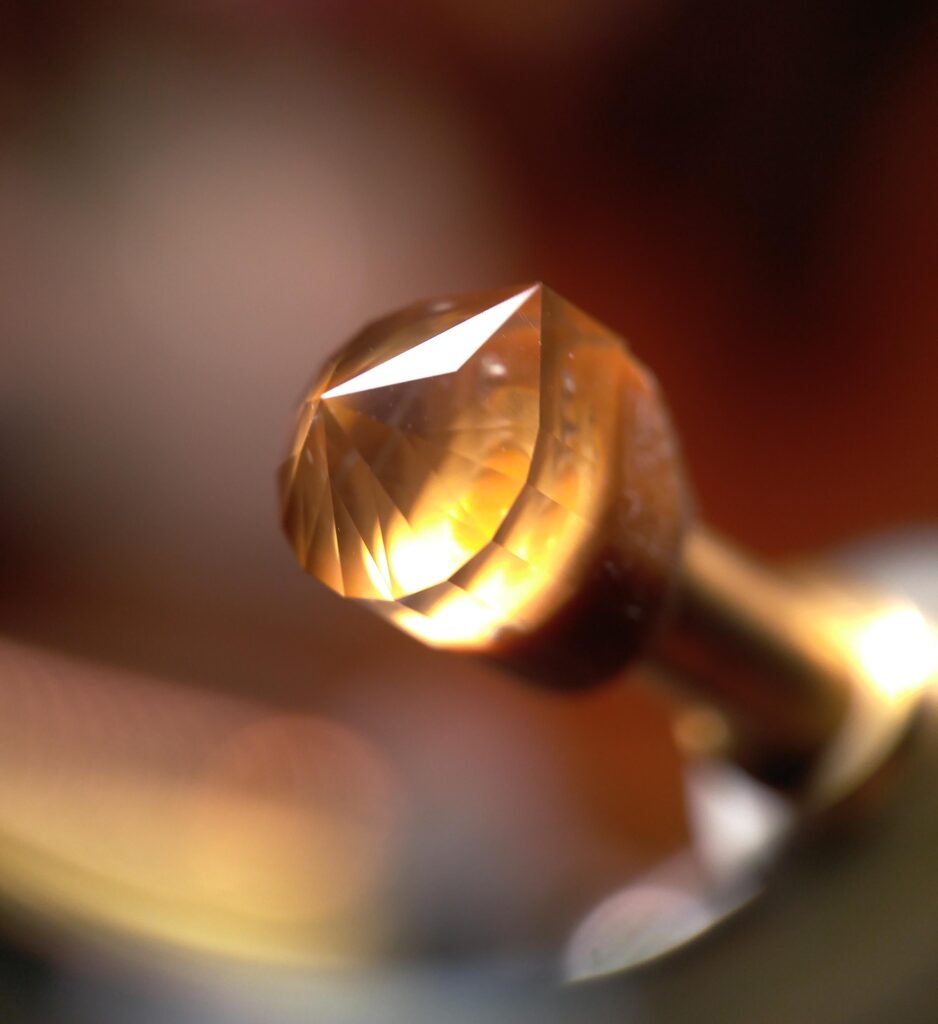
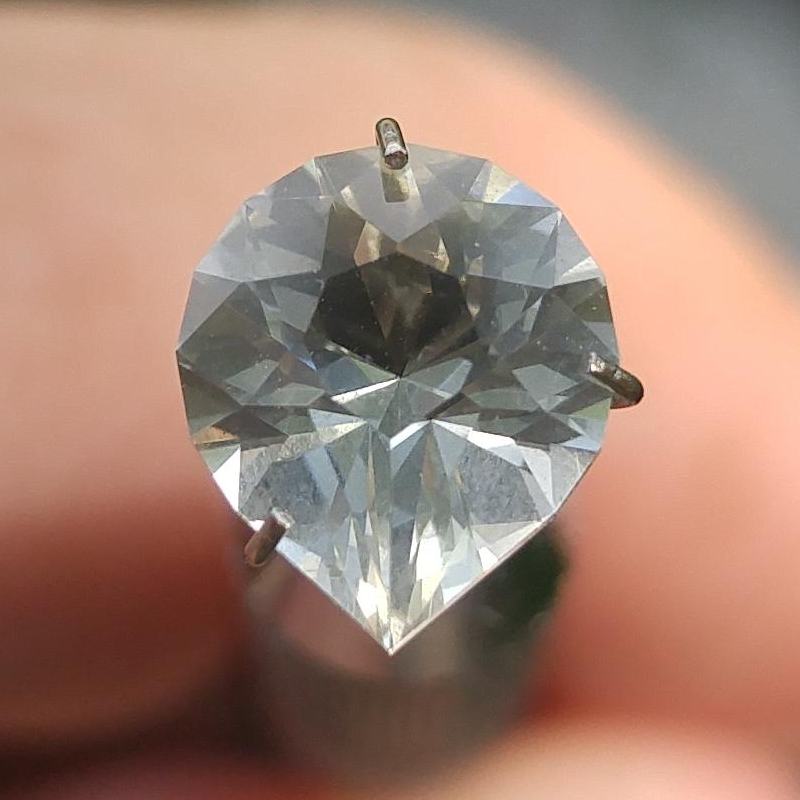
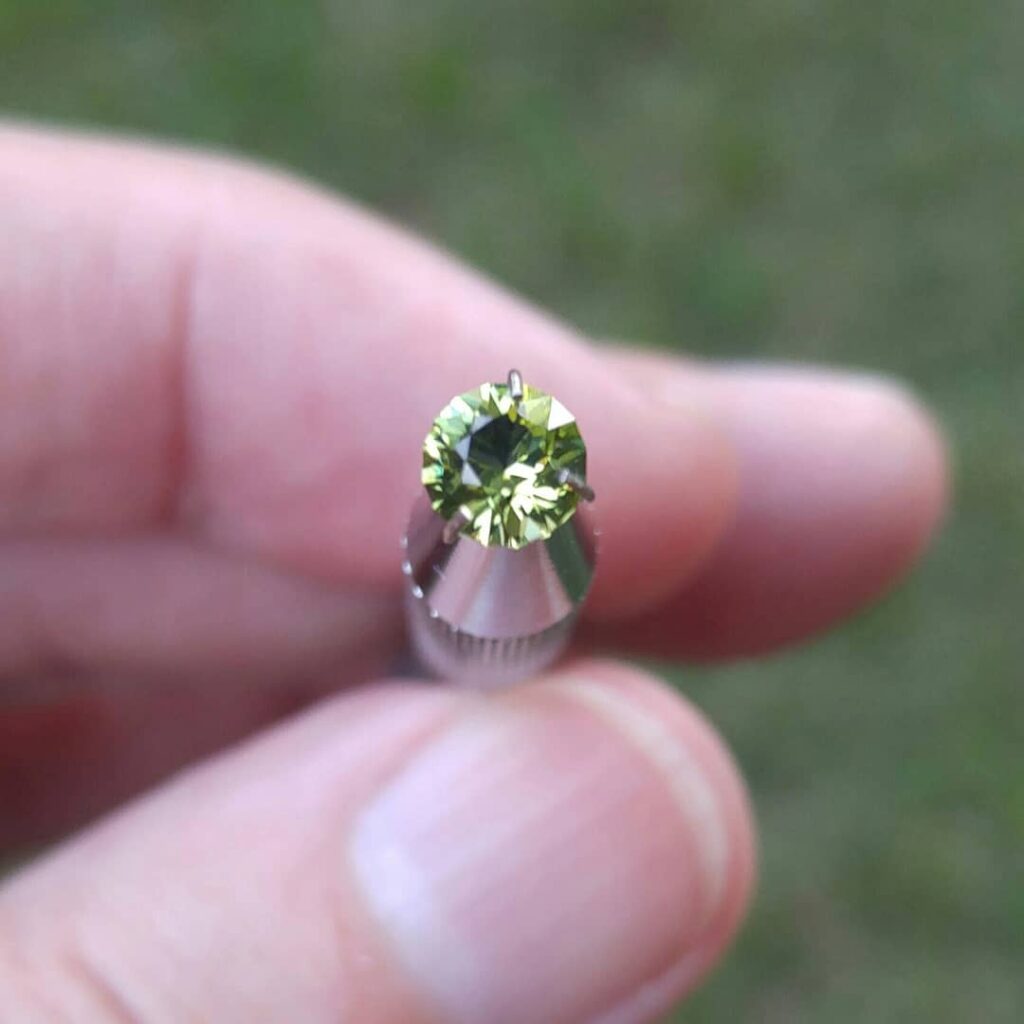
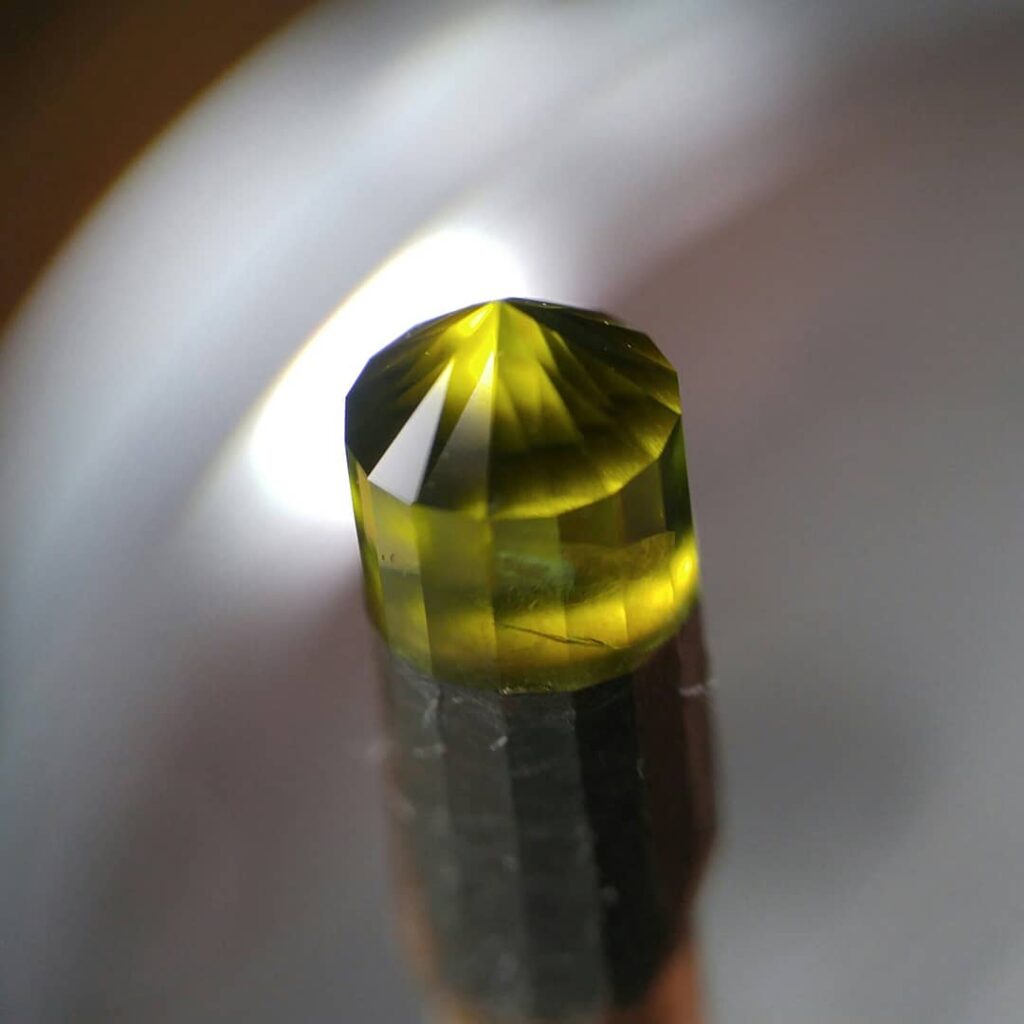
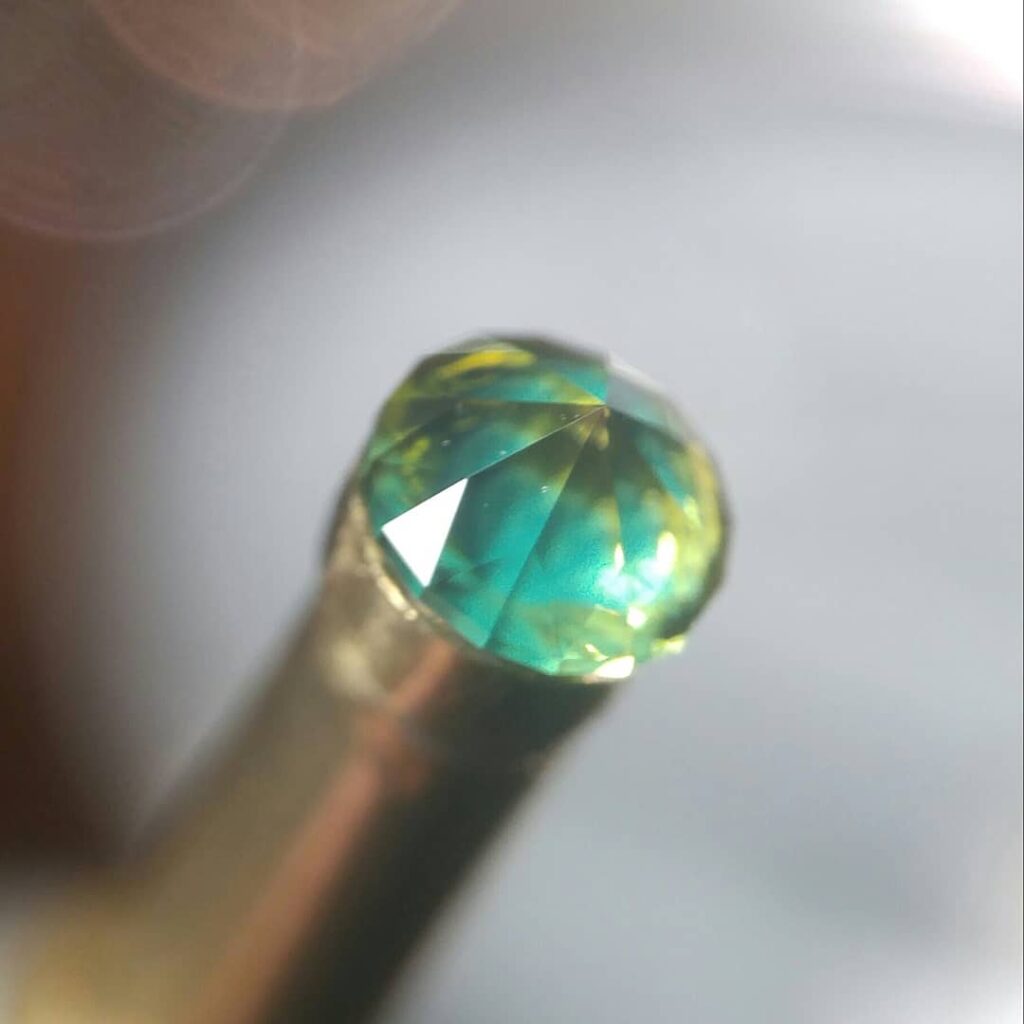
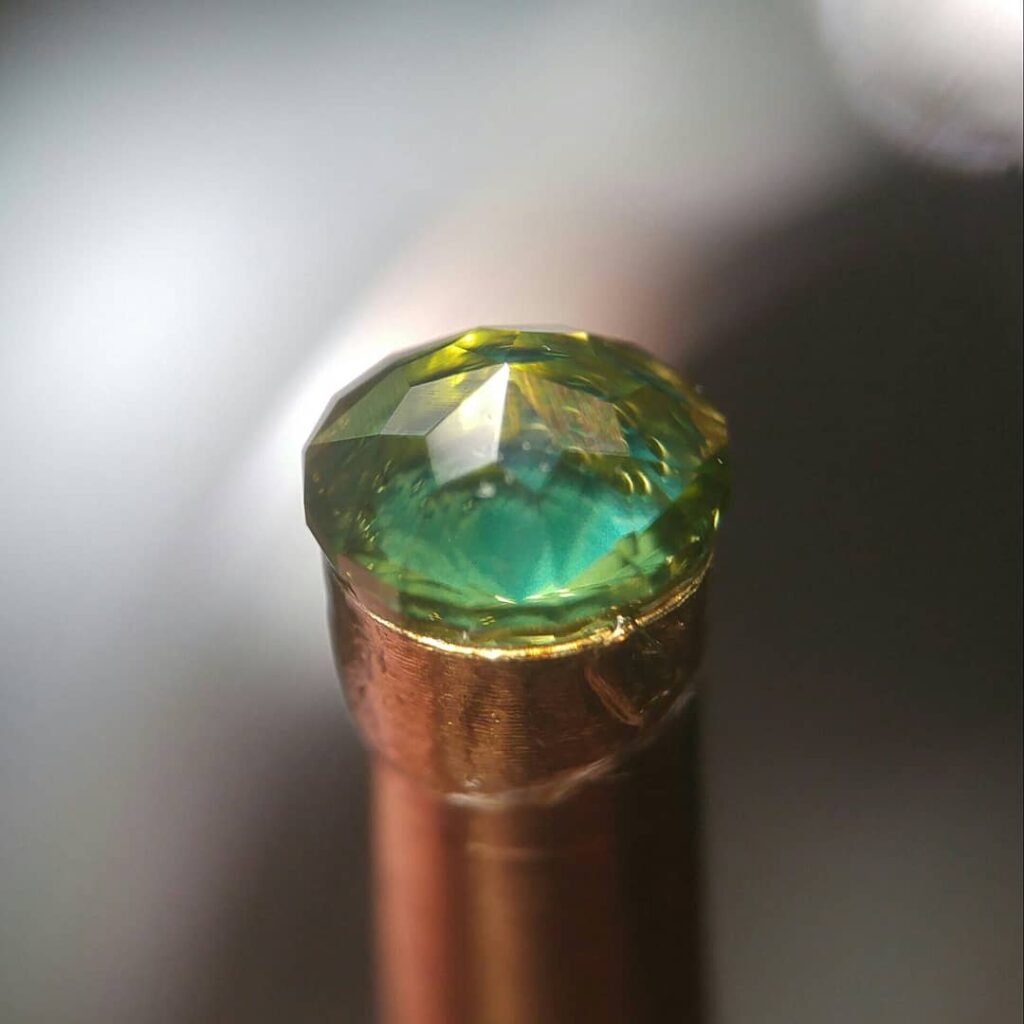
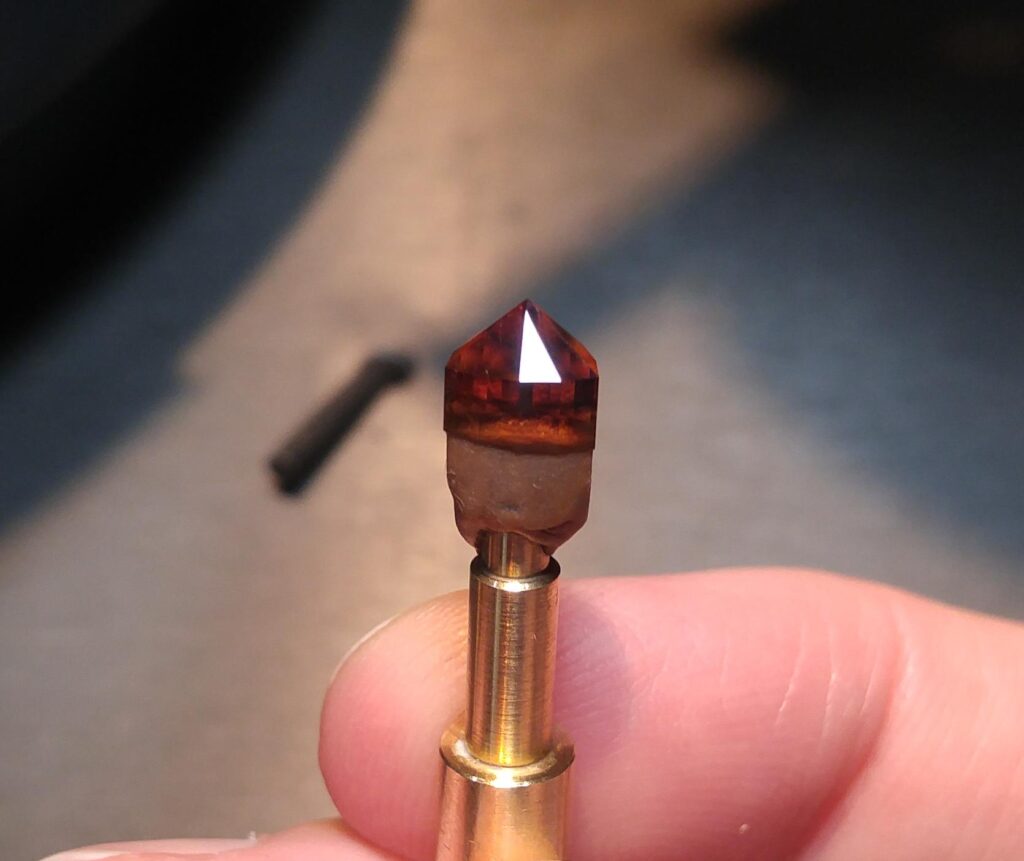
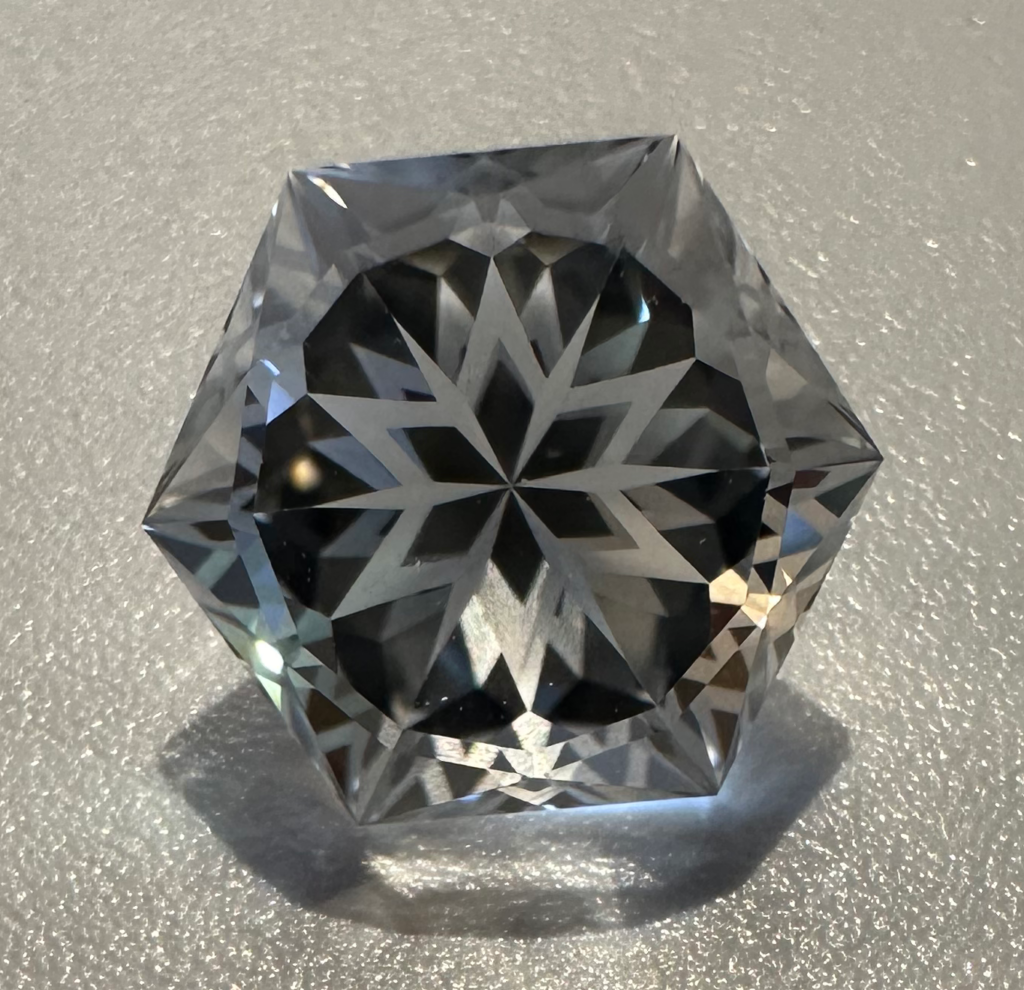
The completed “Frost Star Hex” design by Andrew Ian Brown, showing the frosted star pattern on the pavilion reflected among the facets and back up through the table (pardon the specks of dust!). The finished gem came in at 6.05 carats and 12.25 mm in diameter (11 mm across the hexagonal flats).
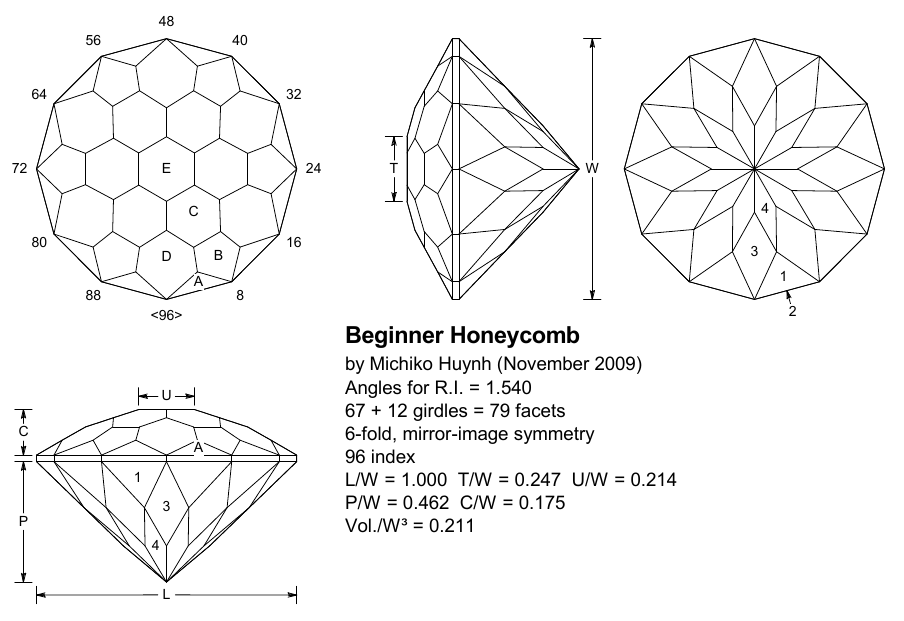
A few weeks ago I ran across a free e-book called “Twelve Easy Gemstone Faceting Designs – A guide for the beginner Gemcutter” by Andrew Ian Brown and Mark Oros that was published last year, and had some interesting designs geared for beginning faceters. I knew Andrew Brown published several other faceting design books where print versions can be purchased on Amazon (along with the one mentioned above), but this book he makes available in PDF format free to download, which I think is a fantastic idea.
When I first started faceting in 2021, I had watched numerous videos on YouTube, read (and re-read) Tom Herbst’s book “Amateur Gemstone Faceting Volume 1: The Essentials” which had one beginner design to start me off with, and then I had also purchased Jeff R. Graham’s “Gram Faceting – The Right Way to Get Started…” which is not only a great, though somewhat thin, booklet that includes 5 beginning designs (which were the next designs I faceted, right after Tom Herbst’s GeM101 design), but also includes tons of fantastic information for a new faceter like me who was just starting out.
For other beginner designs to try I found Jeff R. Graham’s designs archived on the Internet “Wayback Machine” (which pretty much settles the argument that “What gets posted on the Internet stays on the Internet”). The domain he used where he provided a lot of his free designs and faceting information on, faceters.com, is now owned by the International Gem Society (which he also wrote a lot of content for) and redirects you to their site. But, the Wayback Machine lets you go back in time on the Internet to when it was his and has his free designs and many articles posted there from 2012 and prior (though he passed away in June of 2009).
There are also scores of other free faceting designs that can be downloaded from sources such as facetdiagrams.org and gemologyproject.com (to name just a couple), but you have to search for “Beginner” or “Easy” to get those designs that would be good to start off with. It didn’t take me long after faceting those five designs recommended by Mr. Graham that my desire to challenge myself with some of the more complex designs I had seen took me beyond some of those beginner designs, but I do plan on working many those designs in the future as even though they may not have very many facets, they are perfect for those extra-small stones that really need fewer facets to be workable.
However, when I saw design #12 in Mr. Brown’s “Twelve Easy Gemstone Faceting Designs – A guide for the beginner Gemcutter” e-book with the frosted facets (which is also shown on the cover of the book), I figured I just had to give that one a try. I had seen other designs with frosted facets, and this one was very pretty with its star/snowflake-like pattern that fit the season, so I figured I would give it a shot and see how it turned out.
Gems with frosted facets often have larger than normal tables to show off the frosted design, and are usually cut in material that doesn’t detract from the focus of the gem (being the frosted facets), so Cubic Zirconia with all its flash and dazzle is likely not the best choice. Instead I opted for clear Quartz on this one. I have other nice Quartz material (Prasiolite or Citrine for example) that would also be great worked in this design, but for my first attempt at frosting I wanted to go with something inexpensive (which the clear Quartz I have definitely is, which cost me $0.05/carat for what I have on hand).
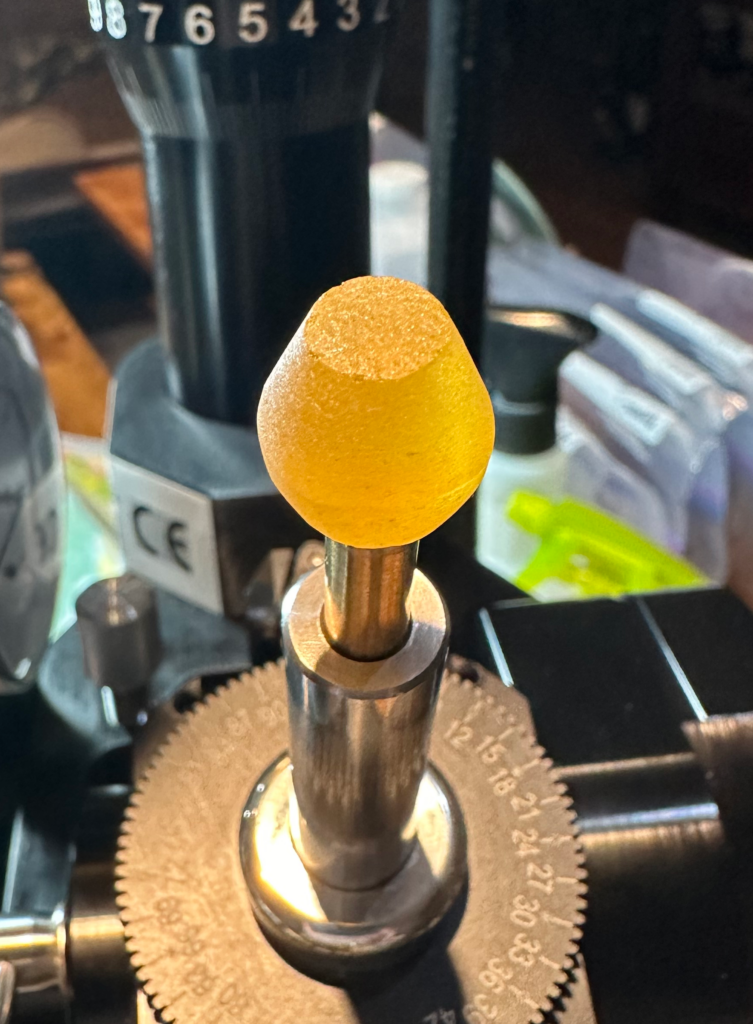
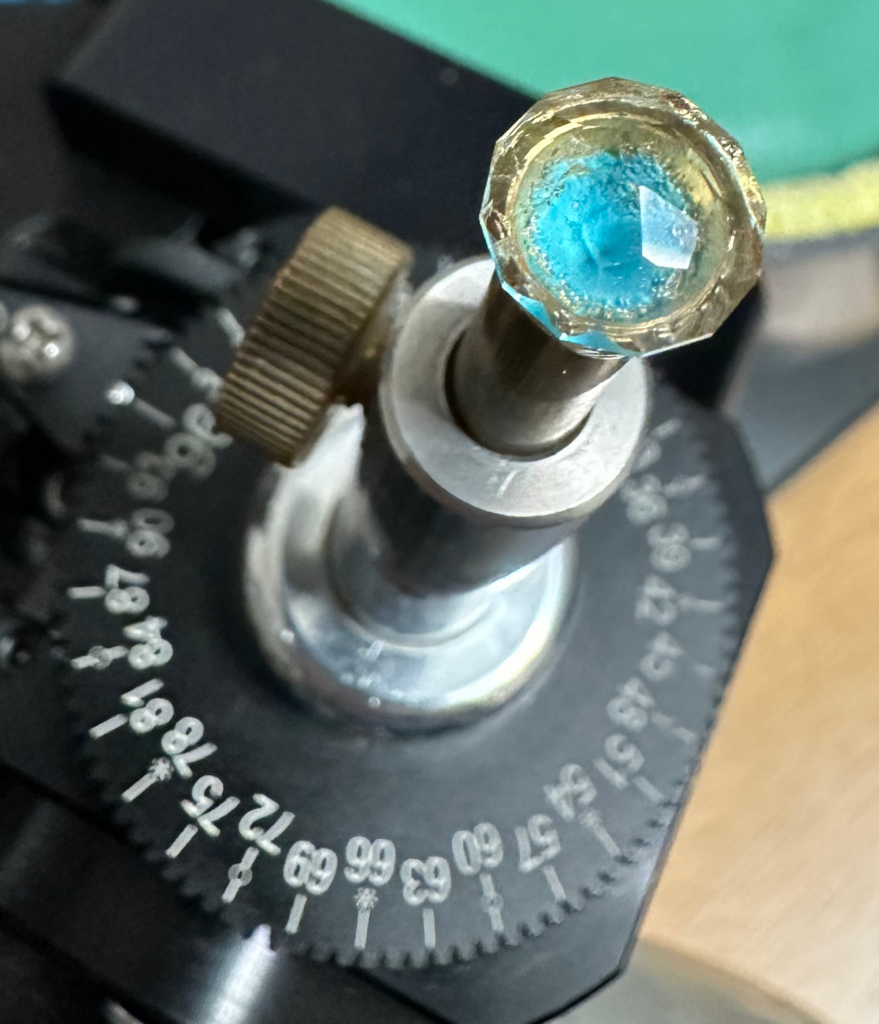
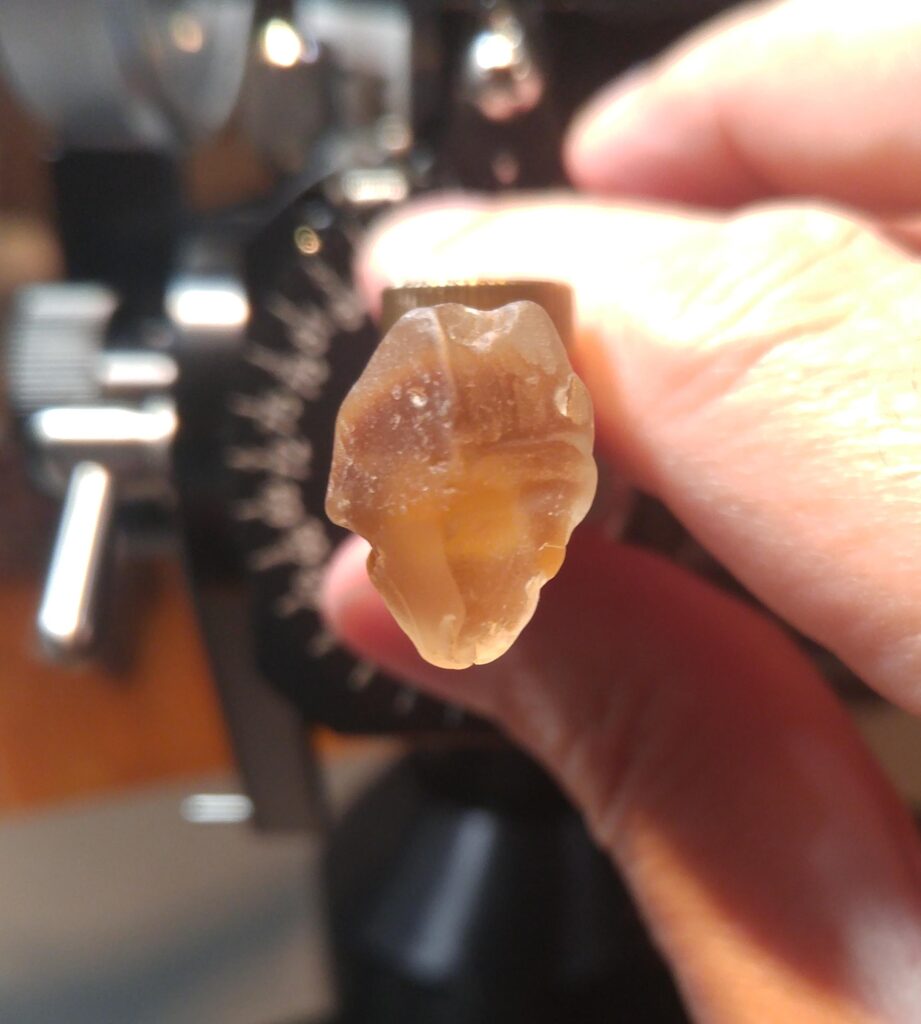
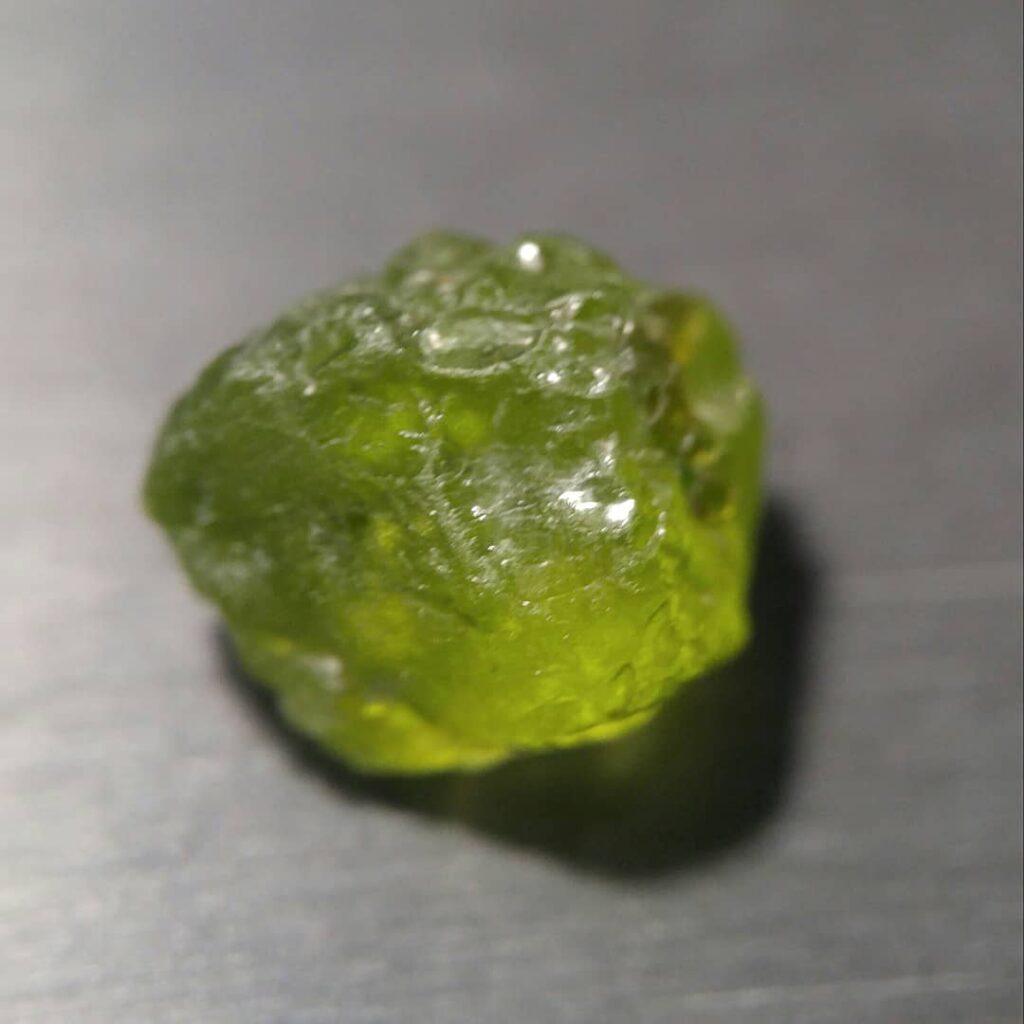
I started off with a chunk of clear Quartz 21.0 carats in weight that I had cut from a much larger piece a couple years ago, and figured it would be a good size for the design with it being big enough to easily see the design through the table, and definitely not too dark, either. Here’s the piece of Quartz dopped and ready to facet…
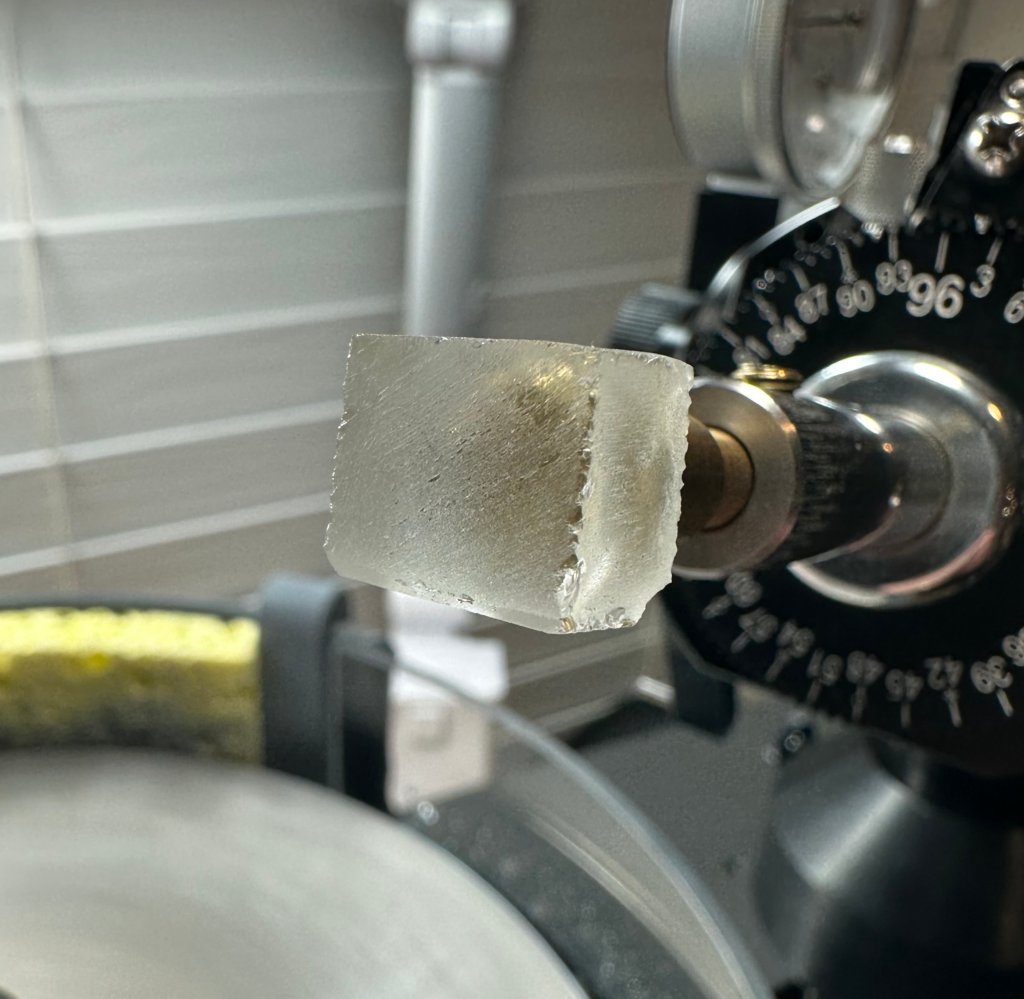
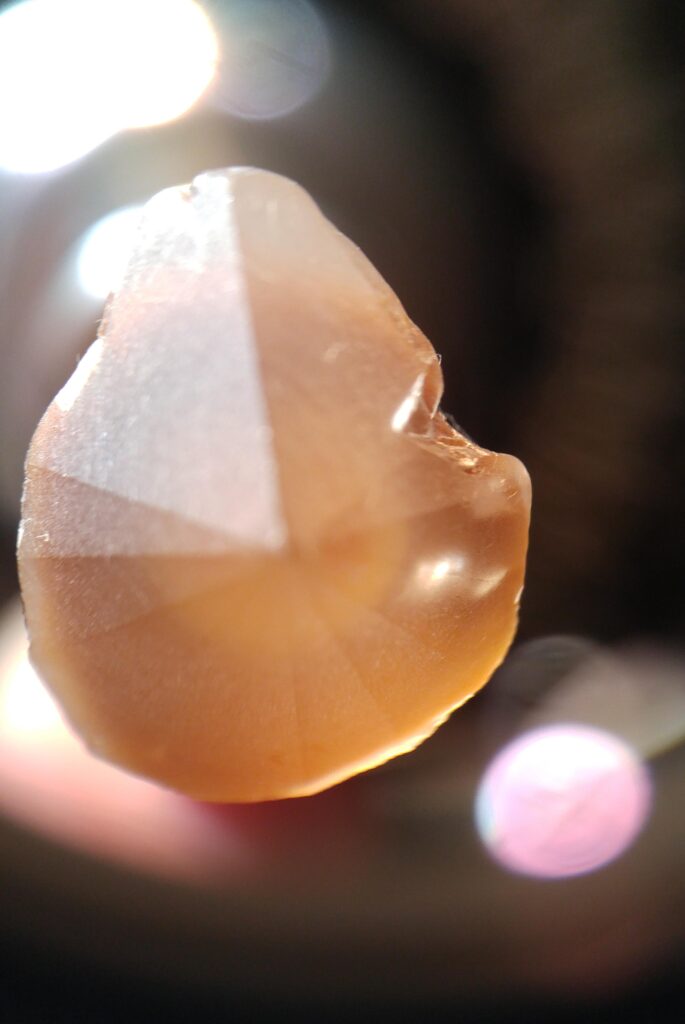
Once I have the rough or pre-formed stone dopped, I will rough-in the first tier of pavilion facets using either a 240 or 320 grit lap, depending on the stone’s size and hardness. Usually the first tier on the pavilion forms a permanent or temporary center point on the stone, though if you actually establish a true “point” on the stone using the larger grit sizes you’re wasting a little bit of gem material.
I will definitely have some waste on this rough anyway, as the block is somewhat rectangular and the design is round (I didn’t have a good size square chunk to use), but always try to minimize loss no matter what I’m cutting as I strive for that “80% or less weight loss” goal when cutting rough stones. Even though this was a “pre-form” piece and not a rough stone, my weight loss came in at 71%, but that still could have even been less if I had started with a square block (most of my gems cut from pre-formed pieces have come in around 67-69% loss, which I understand is respectable for a novice faceter like myself, especially since I cut and pre-formed them before even faceting my first stone).
It’s better to establish the actual points on one of the smaller grits (600 or 1,200), using the same rule applied to Emerald cuts that have their corners lopped off for example. It makes no sense to form a perfect square or rectangle on a rough form only to later grind the corners off when you can possibly increase your gem size/weight by bringing the edges in close enough to the corners to accommodate the corner facets if the material allows for it. Same goes for center points. Bringing them in with the finer grits means less material that gets ground away and dumped in the back yard.
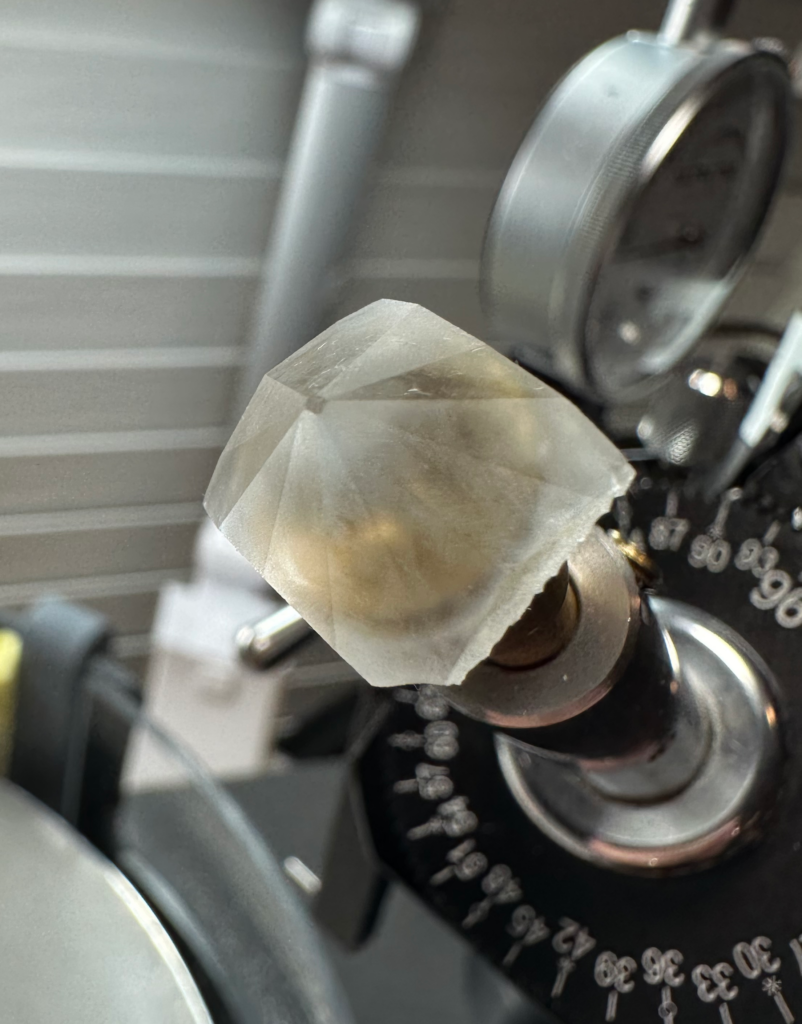
Following that I then usually move on to the girdle to establish the gem’s size, coming back to the pavilion for working the facets with the finer grits. That also decreases the amount of surface area that you have to work (especially on larger stones), as when it comes time for the finer pre-polish and polish grits, polishing a large flat surface takes a lot longer, and you increase the chance for “new” scratches from swarf or tiny pieces of the stone coming loose from the face of the facet and leaving a gouge in its wake, too (which usually happen right when you think “One more swipe should do it!” and make what you thought would be that facet’s final swipe across the polishing lap). 😕
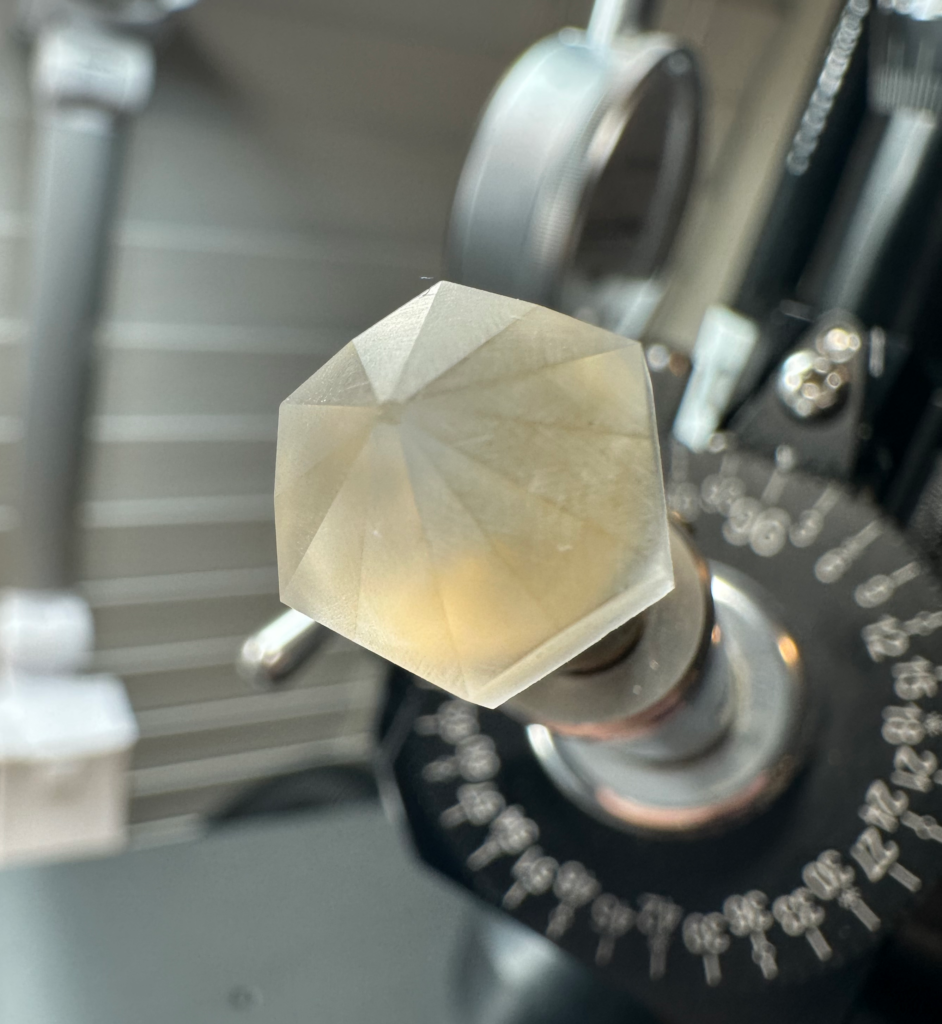
Once I have the stone’s first pavilion and girdle facets cut with the 320 grit lap, I move on to 600 grit to tighten things up, then to the 1,200 grit and/or 3,000 grit pre-polish grits. Remaining facets can then be initially cut with 600 grit, though many times they can also be cut with the 1,200/3,000 grit laps (depending on gem’s size) to where things are “almost there,” then finally working in the meet points to be as perfect as I can make them with the polishing lap as I’m polishing the facets.
My biggest concern with cutting this design was what lap to use for the “frosting”. Mr. Brown mentioned in his design notes that he used a “worn 800 grit bronze sintered lap [which] produces a good frosted finish”, but I have no such lap. I do have a worn 600 grit metal “topper” lap, but the “topper” laps I have are inexpensive thin metal laps purchased on Amazon that were imported from overseas.
These thin metal topper laps are placed on top of a much thicker (and truly flat) machined aluminum “master lap” to provide stability, and are popular for roughing in facets to some degree, but they are also known for NOT being the flattest laps, nor having consistent diamond grit size embedded in the surface and is why they are not used to pre-polish or polish facets that need to have clean, sharp edges. But, for hobbyist faceters on a budget like myself, they are a good choice for at least getting gems to those steps.
I have a 1,200 grit resin-bonded topper “D’Lite Lightening Lap” that is 1/8″ thick and sturdier than the thin imported metal topper laps (though it still needs a “master lap” under it as well). It was purchased a couple years ago and most of its surface is also very well-worn, too. As it’s certainly a lot flatter than the metal toppers I figured that might work, but it left the facets too polished to look “frosted”, even when using the inner-most diameter of the lap that has seen the least use.
As the frosted facets in this design are somewhat small and intricate, I thought that pretty much ruled out using the metal topper laps, but that’s all I have to use at this time. The 1,200 grit metal topper leaves a more “frosted” appearance than the 1,200 grit D’Lite Lightening Lap, but it also leaves deeper scratches than it should on areas of the lap due to the inconsistent grit size embedded in its surface (but not near as ugly as what the 600 grit leaves behind).
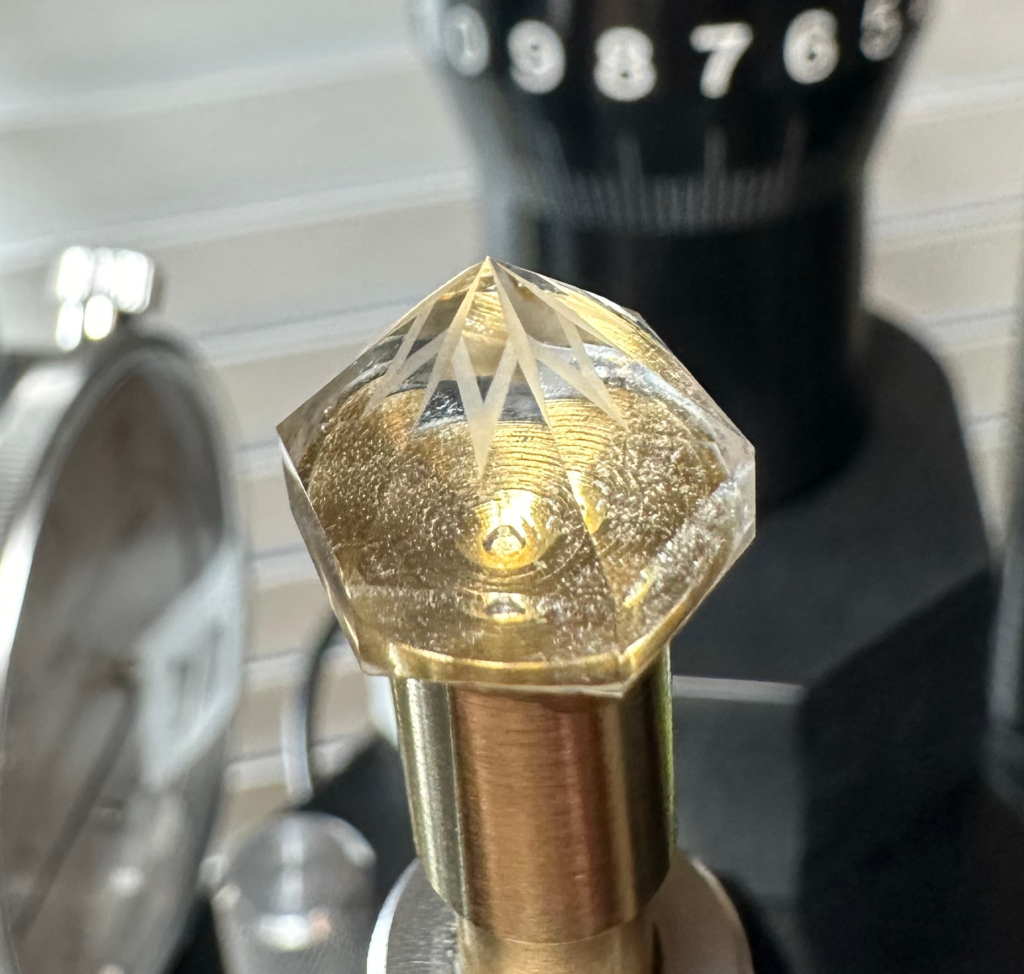
So, as I was faceting the second tier pavilion facets on the stone I tested various areas of the 1,200 grit lap and marked off an area about 5/8″ wide within the diameter that didn’t seem to leave deep scratches, and luckily avoided them when it came time to frost the actual facets that needed to be frosted. I found that spinning the lap at around 500-600 RPM and using a fast water drip set right before the stone to wash away the particles, as well as using a very light touch seemed to keep those rogue deep scratches away while working in that “safe” zone.
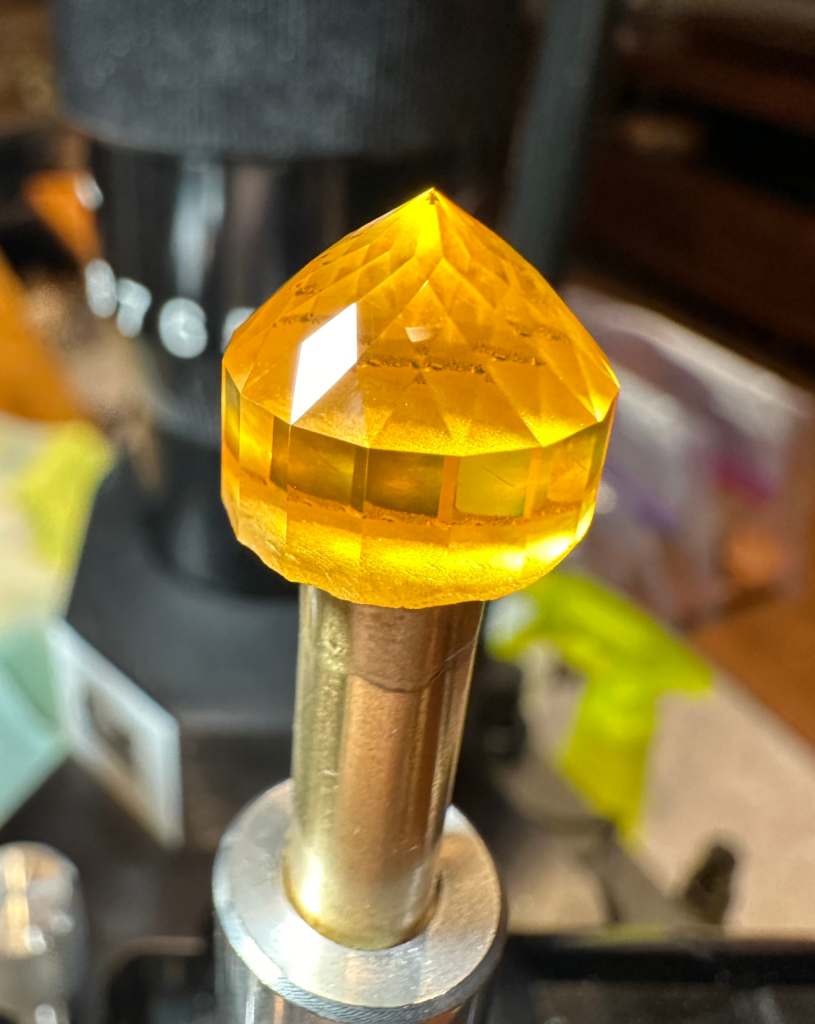
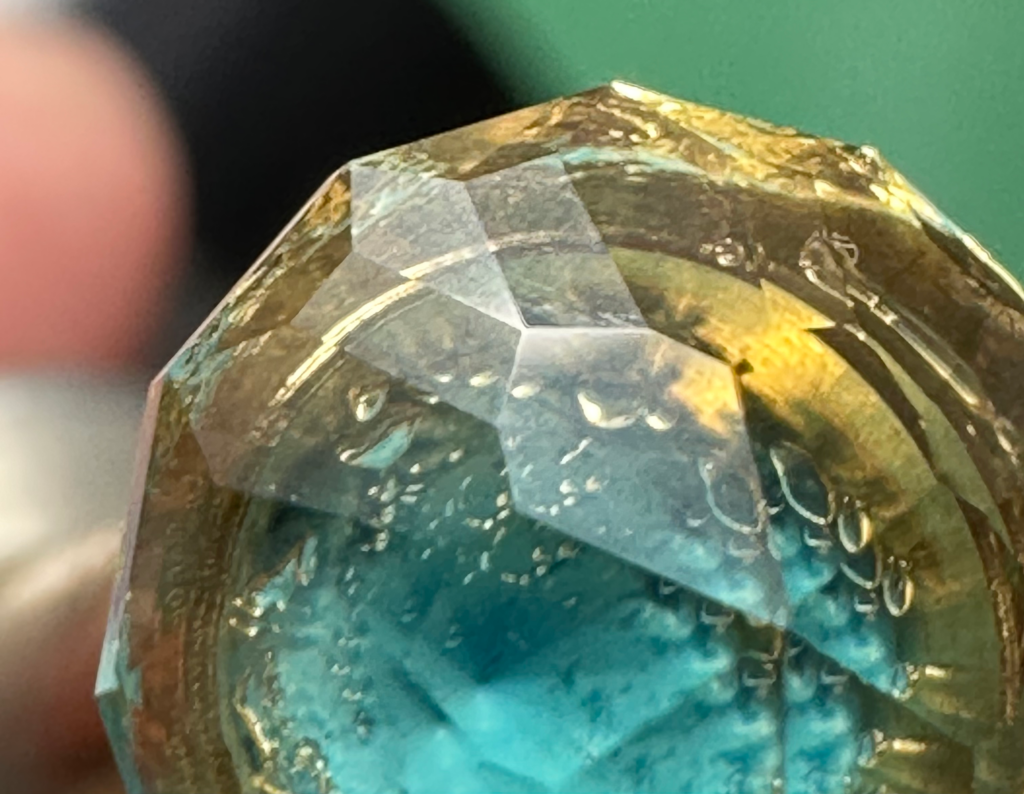
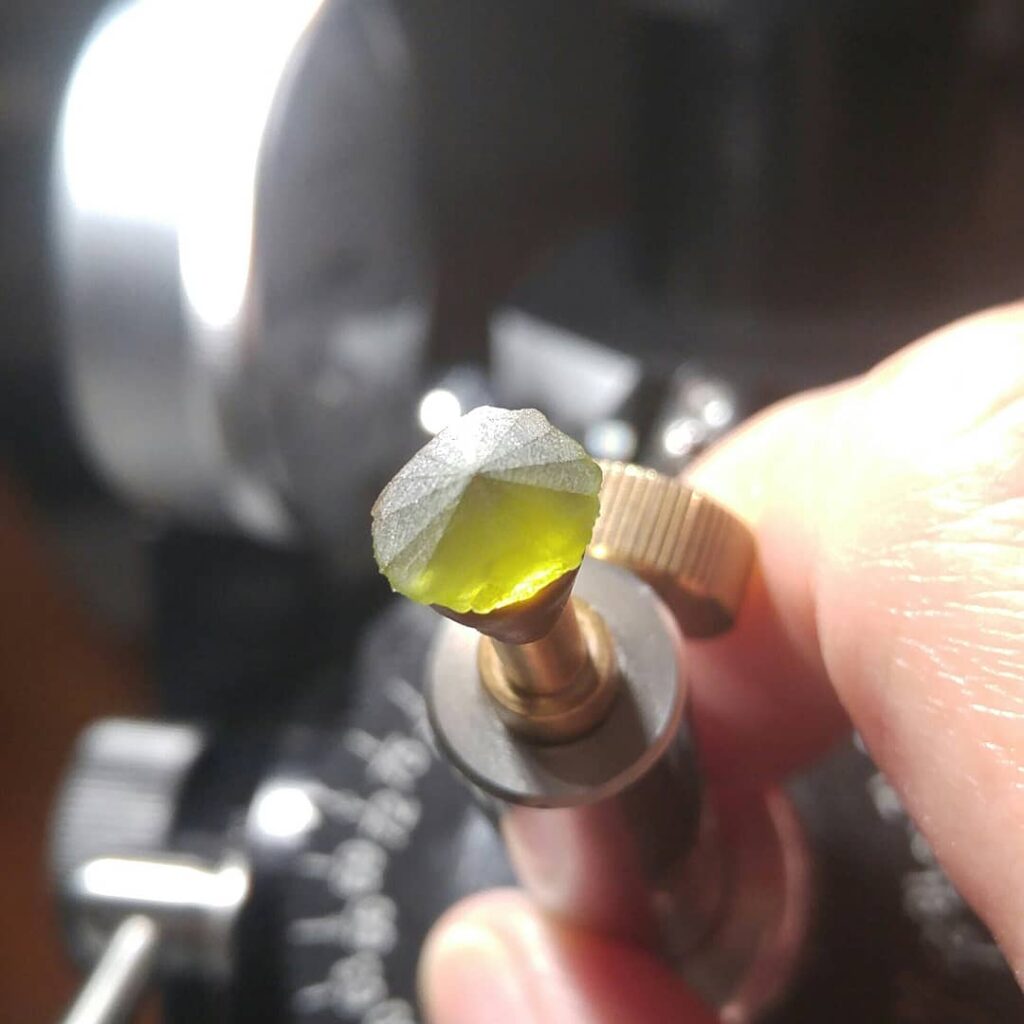
The worn 1,200 grit topper lap, using the “safe” zone area, did an excellent job with the frosting. I thought it might be too lightly frosted, as even though they showed up well when looking at the facets on the pavilion, they almost completely disappeared in the super glue when the gem was transferred to the other dop so the crown could be faceted. I was really hoping for the best, but in the end they turned out well. Here’s a view of the pavilion from the culet showing the frosted pattern in its entirety…
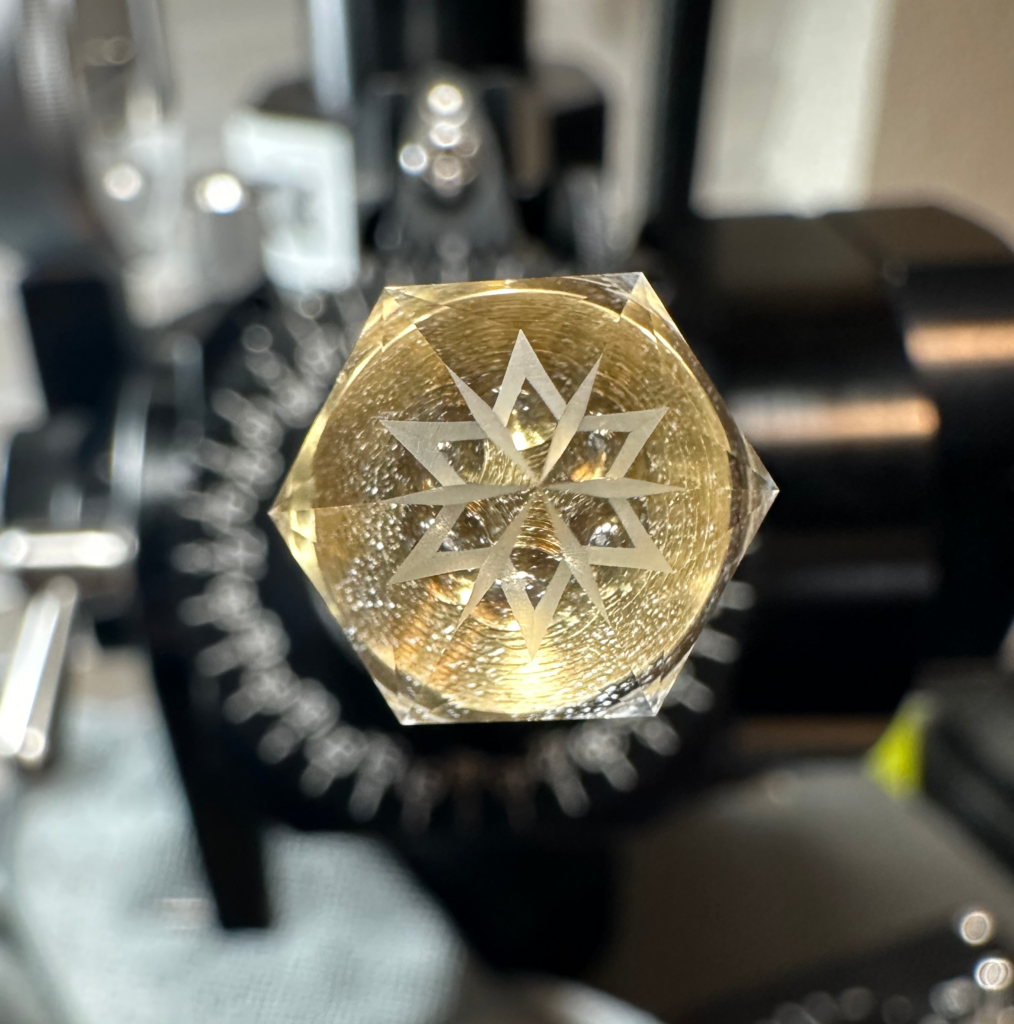
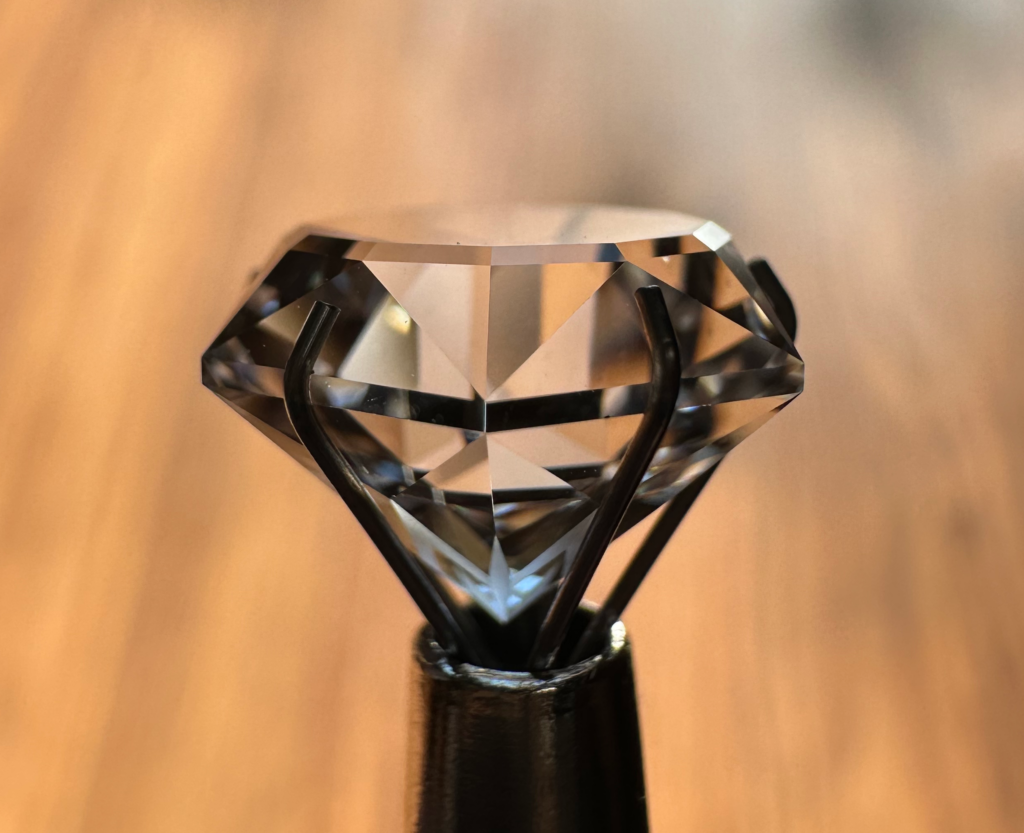
The crown facets were rather simple with three tiers, the last being step facets to “frame” the table, and they all came together nicely. In the side view displayed further down you can see the frosted facets in the pavilion near the culet. I had mentioned that large flat facets take a long time to polish, and the table on this stone was definitely one of them. I used my favorite lap for polishing Quartz, the Creamway™ lap from Gearloose with a spritz of Cerium Oxide solution every now and then, but even though it did a relatively quick job on the other facets, polishing the table seemed to go on, and on, and on, but eventually a really nice polish was left.
I learned a good deal on how frosted facets are created by cutting this design. For example, on this gem an entire facet tier was cut at a particular angle to meet at a point where two other facets met, leaving six facets that were frosted and formed the culet center point. Then, using a slightly steeper angle, I polished those same six facets slowly until I was left with a frosted “outline” of the same width on each facet, creating a six pointed star. I followed that with setting the angle even a little steeper and frosted the edges of where two facets meet, leaving behind the six frosted spokes that radiate from the culet on the final tier of the pavilion.
So basically, you can “frost” the edges of facets to highlight the faceted design (I’ve seen that done a lot in many designs), frost entire facets (such as petals on a flower design, or where a row of step cuts, such as the third tier of crown on this design, could be frosted to create a literal frosted “frame” for a frosted pattern within it), or frost facets and then go back at a different angle or index and polish the interior portion of the frosted facet to create a wide frosted area like was done in this design.
By using one or more of these techniques for frosting, many beautiful designs “pop” and can be clearly seen reflected up from the pavilion or even created on the crown, and become the highlight or focal point of the gem, not the sparkle and flash it could give (though I’m quite pleased with this gem, as it has nice sparkle, too).
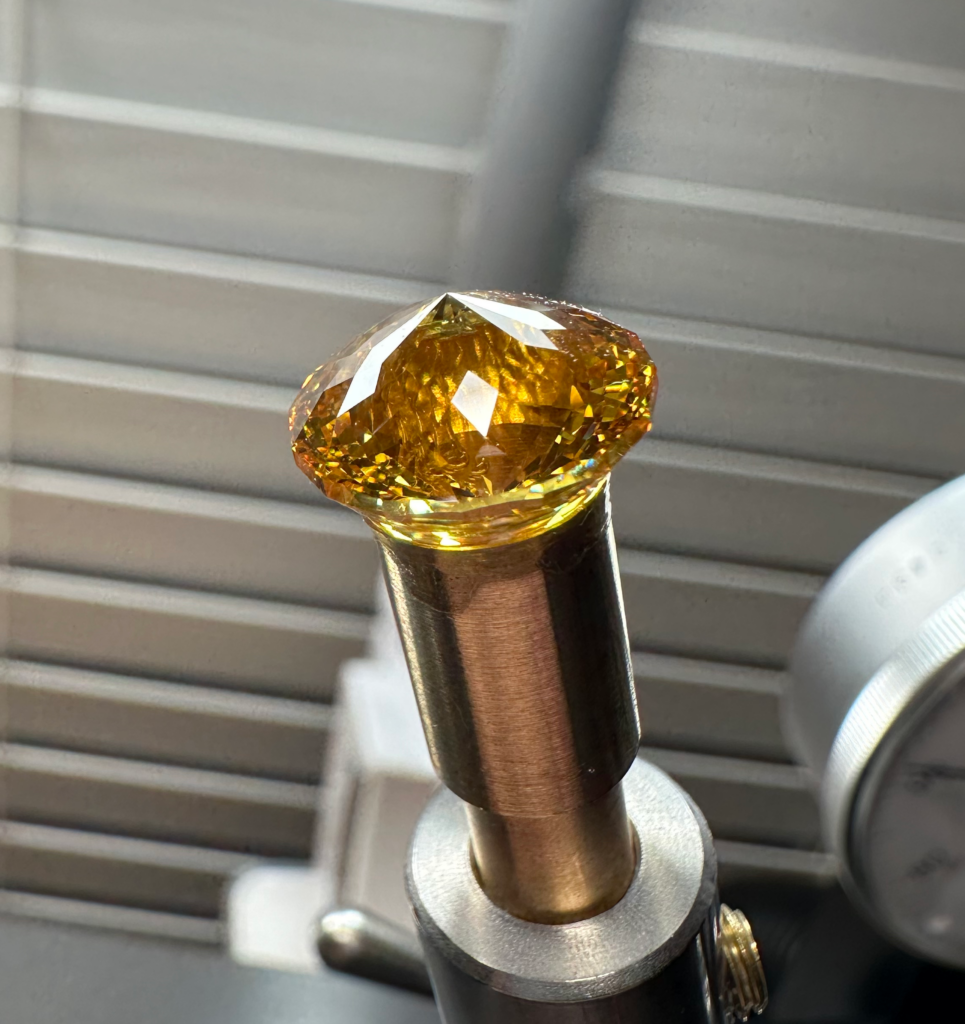
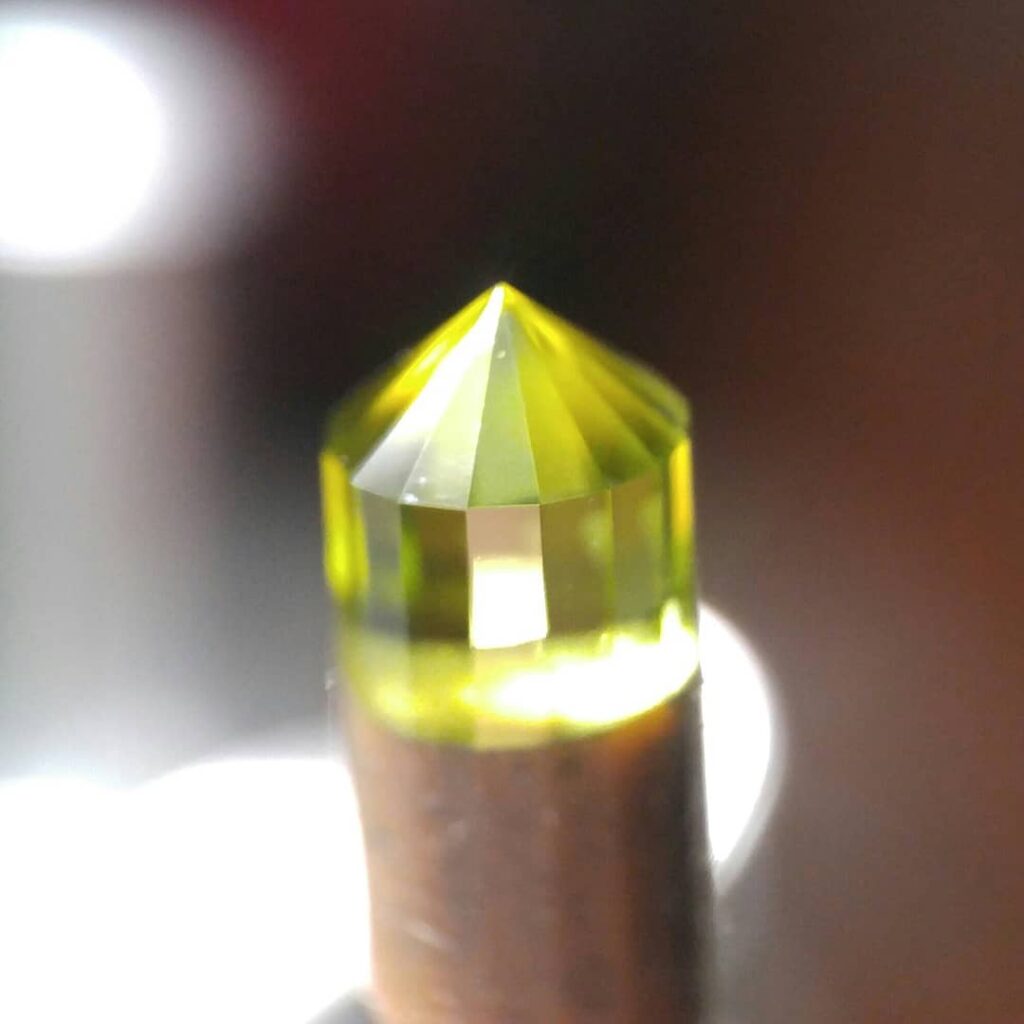
Below is a side view of the completed gem. You can see the frosted pattern down at the bottom of the pavilion, and can easily see that this piece of Quartz, without a single inclusion, is optically clear and provides a perfect medium for a frosted design. With a total of 79 facets (42 pavilion, 31 crown and 6 girdle), the gem wasn’t difficult to facet and I was very pleased that my frosting, as well as all meet points, are pretty much right on the money.
I think going forward, at least until I can find a lap that would be good to use for frosting facets, I’ll have to avoid that “safe” zone on the 1,200 grit topper lap when using it to facet stones and keep it reserved for those facets that will be frosted. I had already downloaded and saved a good number of designs that use frosted facets a couple years ago, so at least now I know I can use an area of that lap until I find a decent replacement that won’t cost me a body part or two. 😉
In all I really had a lot of fun working this design. As mentioned I had seen other frosted designs and knew I would facet one of them one day, and this design seemed to “fit the season” very well. The design name uses “star” in its title, but it really could be a snowflake as well (which are also hexagonal). I already have a design for a silver pendant in mind that I will use this stone in, and if it comes together how I imagine it to look like, I think it will be an awesome looking pendant!

