This Arizona Peridot cut as a Standard Round Brilliant actually started out to be a lot larger than it finished up being, going from 4.6 carats rough down to 0.5 carats finished, but that’s the way the fractures crumble sometimes. 😕
At 5 mm in diameter it’s the perfect size for a small 4-prong ring, or accent to a larger stone. Hmmm…
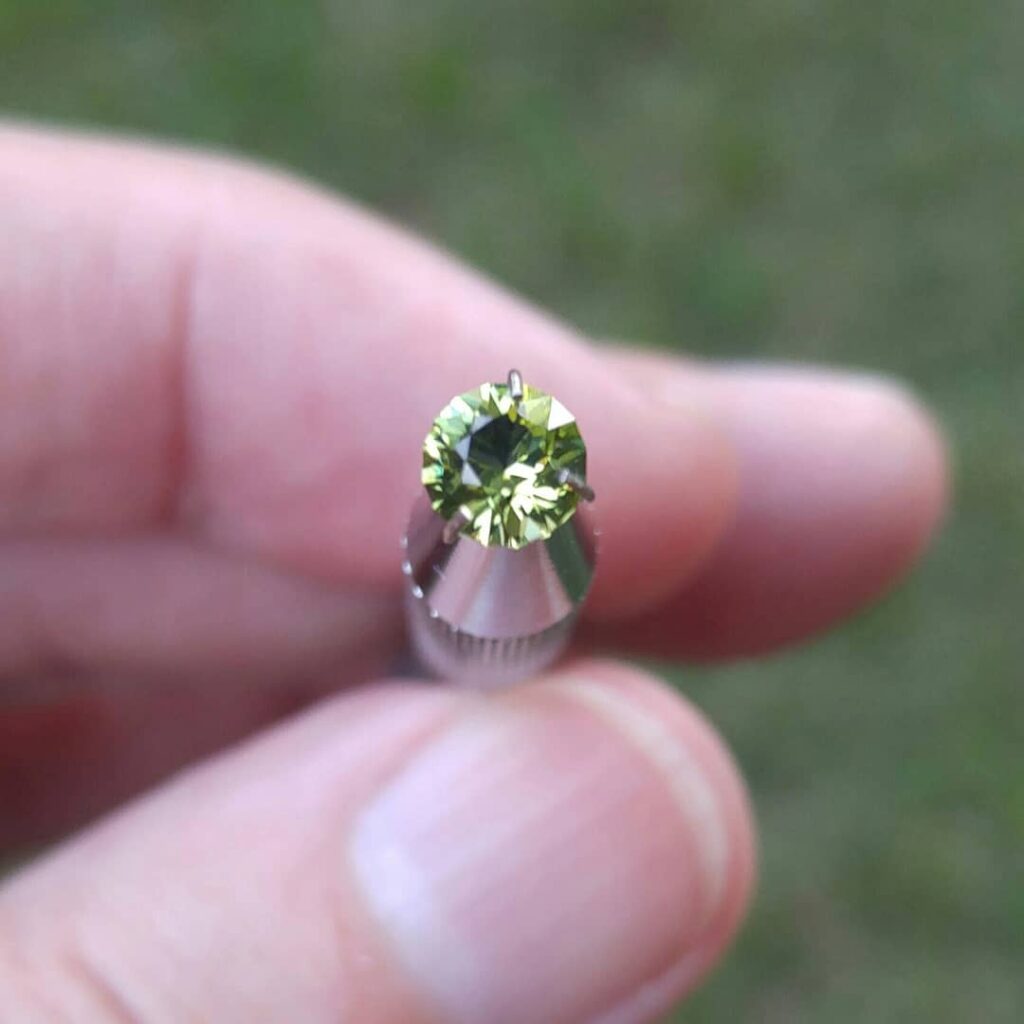
Grinding down the girdle to its new width made this the smallest stone I’ve faceted so far, but it finished up really nice with lots of sparkle, a beautiful green color and not a single inclusion. The Standard Round Brilliant cut is comprised of 73 facets… 33 on the crown (including the table), 24 on the pavilion, and 16 on the girdle.
Each facet goes through several processes, from grinding to polishing in various grits until the final polish is achieved, checking and re-checking with the loupe along the way to make sure that the facet meets are on point and all scratches from the previous grit are removed. It’s not a quick (or easy) process, but when a gem that has gone through all those steps comes out looking like, well, a “gem”, you can’t help but be proud and thankful.
Below is a pic of the rough stone that weighed in at 4.6 carats. I did my best to inspect the gem for any fractures with Benzyl Benzoate (a good refraction liquid for testing gem stones with) and my 10x loupe under strong light, but I didn’t see the interior fracture that would take its size down so drastically (perhaps I’ll get better at spotting them with practice)…
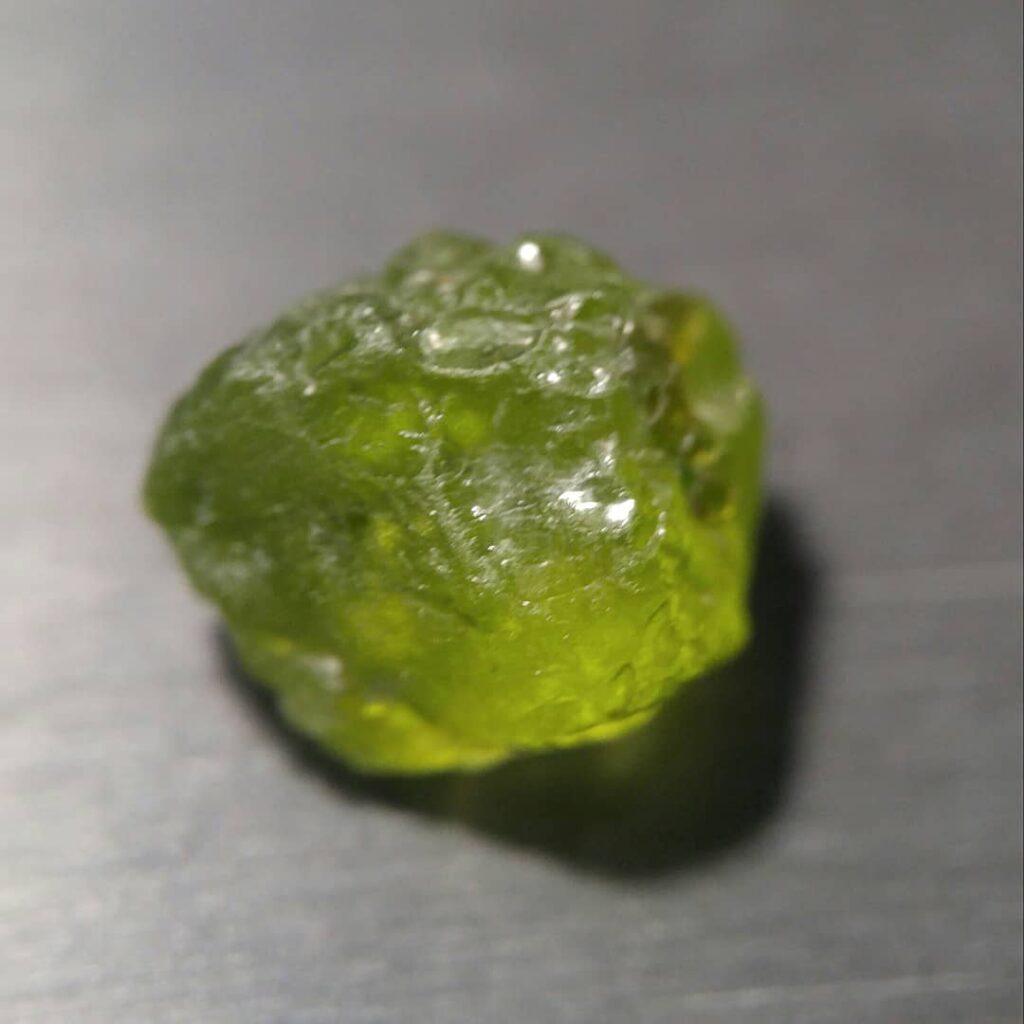
Here I had just started with the rough grind of the pavilion. Even after going through the the other grinding and polishing phases of cutting the pavilion’s facets I didn’t see the fracture…
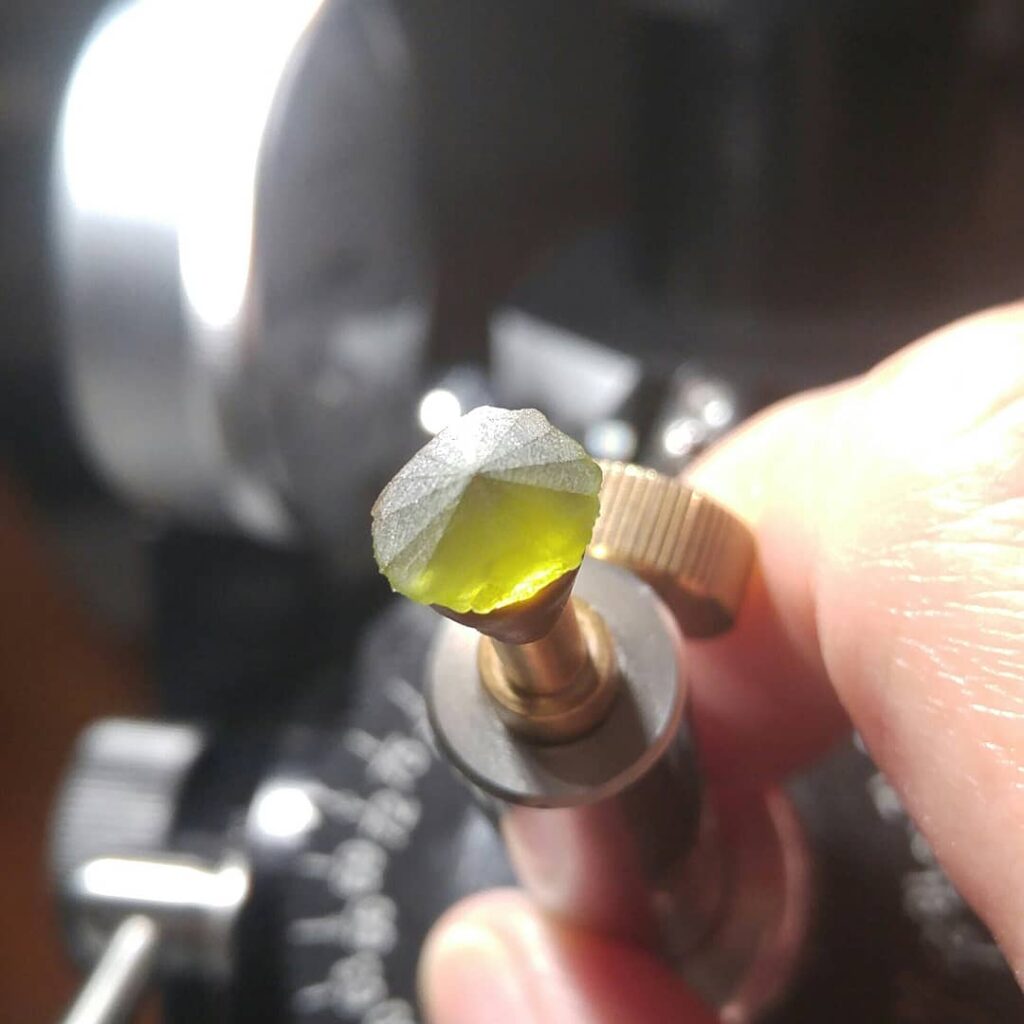
It wasn’t until I was cutting the girdle when a circular fracture became exposed, and when it popped out of the side it looked just like a (green) apple that someone had taken a bite out of. Even at this stage of polishing the girdle facets I didn’t see it until it was too late.
Internal fractures are often times not visible or detectable until you actually start cutting the gem, and is one of the things you just have to take into consideration when buying rough stock. The dealer I got this gem from, TheRoughStuff, has always provided me with exceptional gems and had no way of knowing, either, as I couldn’t detect the fracture until well into the cutting of the gem (and Peridot as a gem is well-known for having “feather” inclusions that have a tendency to fracture… I’ve cut enough cabochons with Peridot to know!).
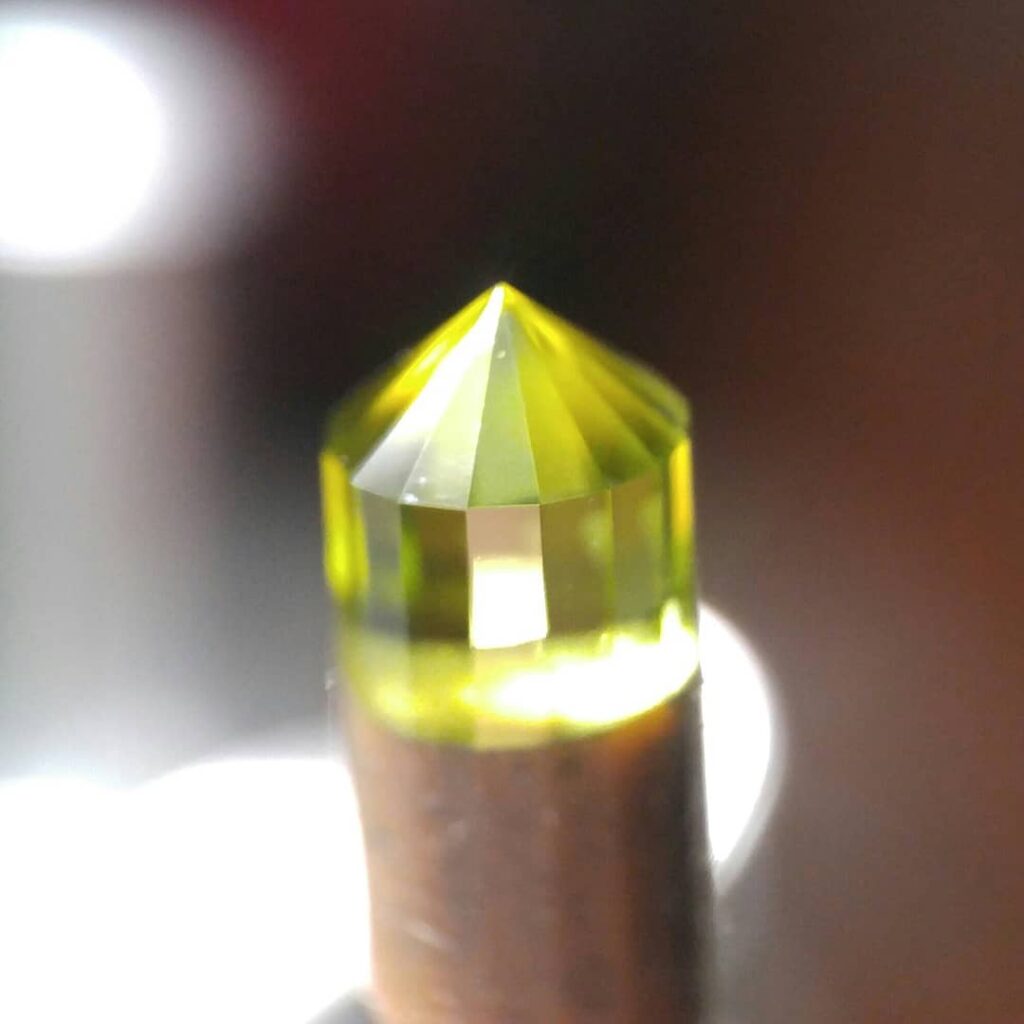
The following pic is when the stone was sized down to remove the chunk that had broken out of its side, and massively reducing what would have been a much larger stone. Here you can see that the girdle and pavilion facets have been polished. You can actually see that there’s another fracture there near the bottom of the stone (which will actually be the top, or crown area), but that will be removed when the crown is cut anyway, so it’s not a concern.
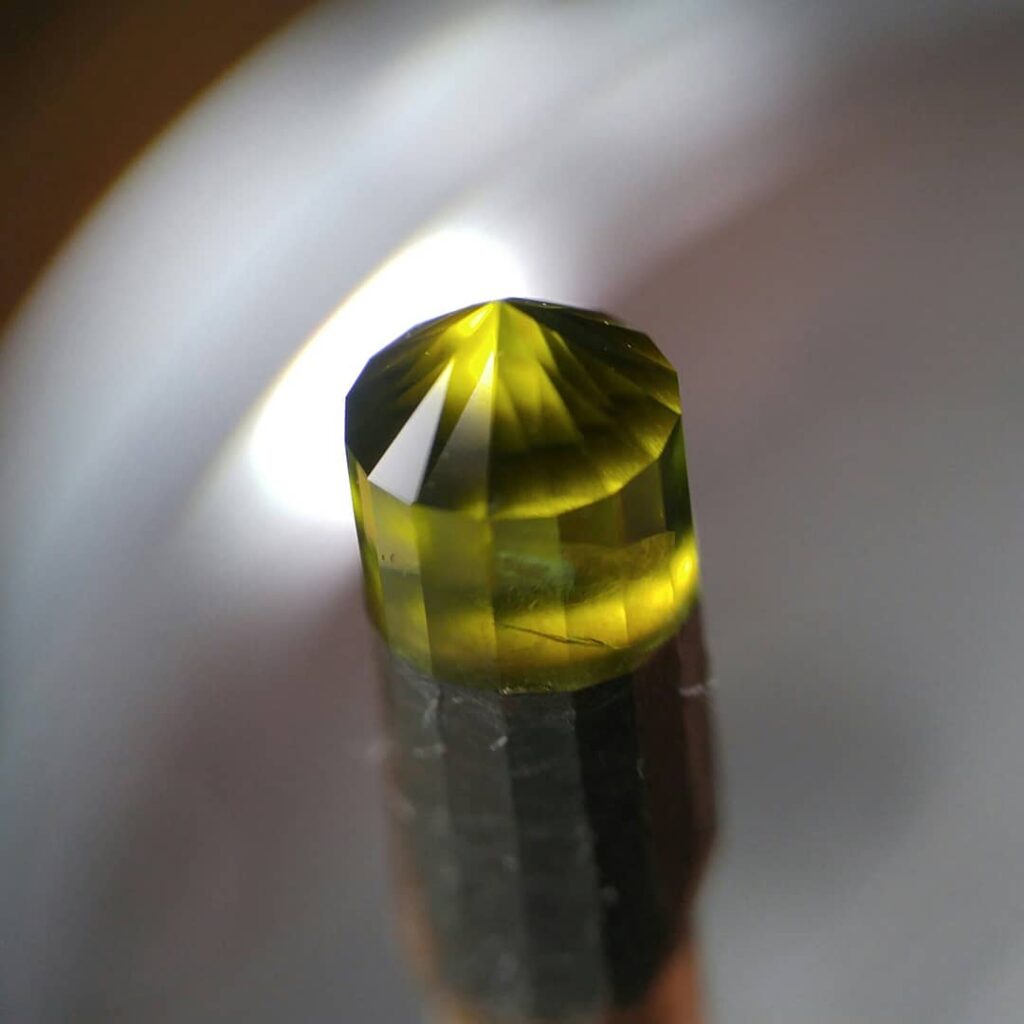
With the stone transferred to another dop, work on the crown is progressing well, and with no more surprises!
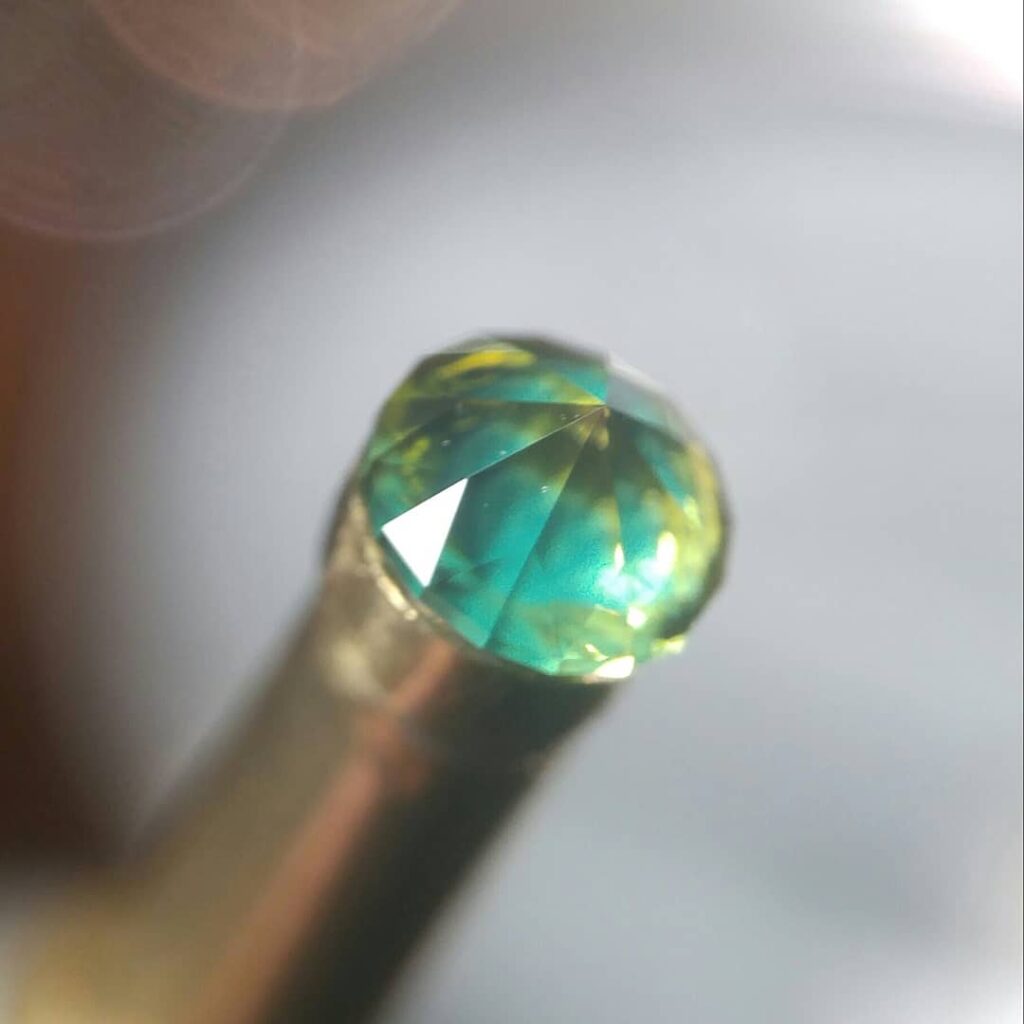
With all but the very last crown facet ground and polished, the next step is the table. This is the last step in faceting (for most… some faceters, especially those in eastern countries that use hand-held facet devices start with the crown and end with the pavilion). It’s also the most “telling” facet as it’s easy to see just how well (or not) your facets “meet” at the right points.
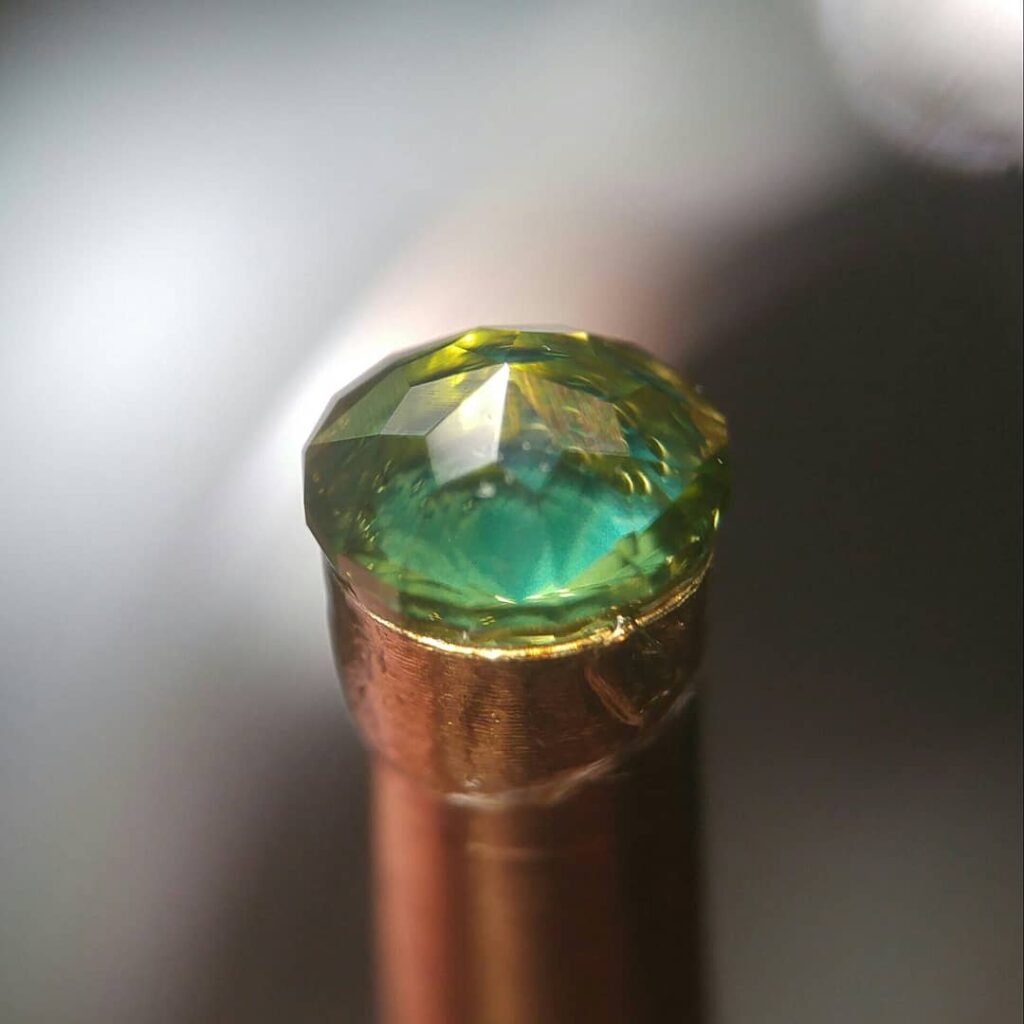
Overall it was a somewhat challenging stone to cut, not so much because of the fracture that forced me to regrind the girdle (which is not hard, especially if your pavilion facets are accurate), but due to the new and much smaller size stone than I had never cut before.
It did turn out quite beautiful though (which I’m very happy with), and will someday be included in a silver piece that Kathy will likely treasure since every bit of it will have been completely handmade by me. As Peridot is the birthstone for August, and August is when we were married, I think an Anniversary present is in store. 😉
