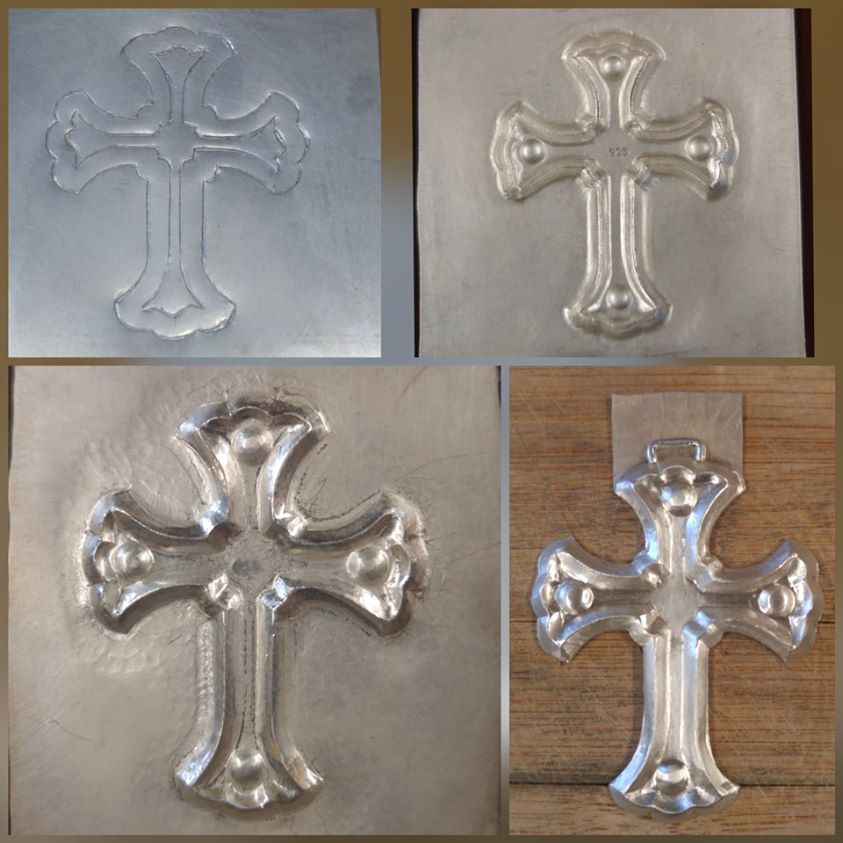
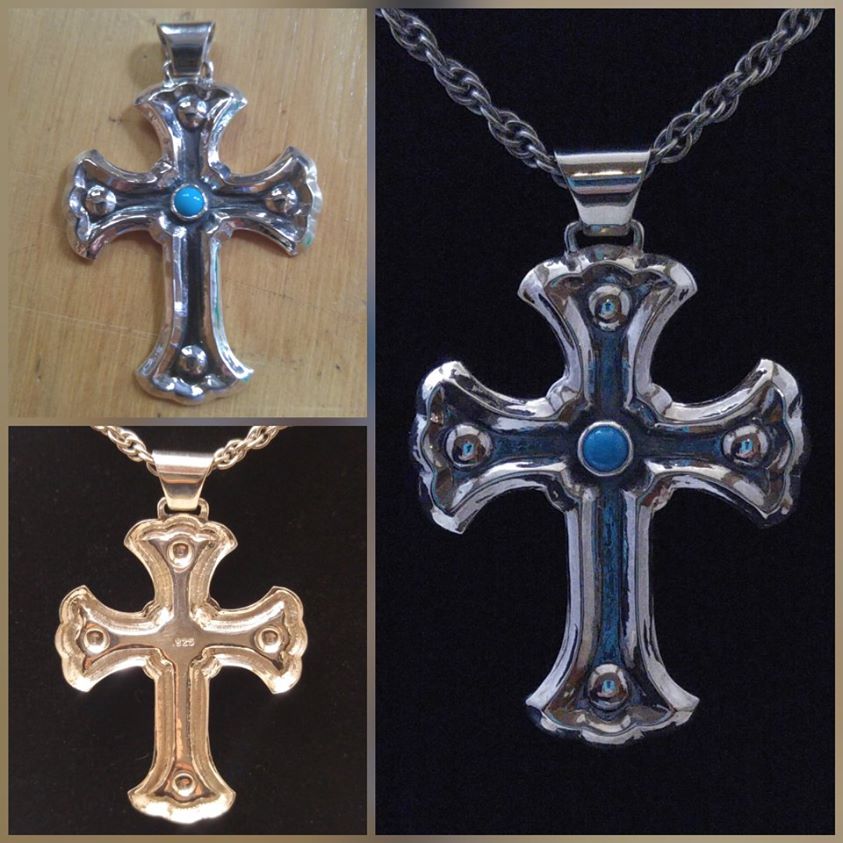
Here’s a collage of pictures showing my 3rd go at chasing and repoussé, a sterling silver Cross Pendant.

I wanted to make a cross in sterling, but nothing too elaborate for me to be able to do with my limited C&R experience. Also, having used copper on my previous two C&R “projects”, and knowing that sterling, being harder than copper, would take more work to get it where I wanted it, I needed to make sure it was easy enough for me to “test the water”, so to speak.
When working metal with C&R techniques, there are still areas I need to work on (well, all of them really, but a few especially). I am still needing *lots* more practice with my initial lining, and I continue to catch myself every once in a while pinching the tools between my fingers way too hard (especially when lining it seems). But, I finished this project with only a slightly numb thumb this time, so I’m sure the nerves in the tip of my thumb thank me for that! 😉
I also determined that I need to make myself a few “extra small” punches and planishers, but didn’t want to stop to do that, so made do with what I already had. I’ll probably make them before the next project though, even if I don’t need them for that project, as I need to make myself a couple regular small punches, too.
I used 24 gauge sterling sheet for this, and after cutting out the cross used part of the leftover scrap to make a bale. I didn’t cut away the excess at the top of the cross so it could be used to provide a base for a hook that the bale would attach to. I soldered a bit of 18 gauge round wire that had been shaped and sanded to fit at the top, as well as soldered on a bezel to hold a 5 mm cabochon of Sleeping Beauty turquoise at the center of the cross.
After cutting out and around the bale hook and cleaning that area up, I shaped and fit the bale, soldered it closed, then cleaned up the whole piece and threw it in the tumbler for a little while to harden the silver back up a bit. I followed that with oxidizing the interior channel of the cross and set the stone.

The above collage shows the finished piece on the bench, and the back and front of the piece in more of a “display” setting, though it’s still hard to clearly distinguish between the recessed and raised areas in the photo of the back.
It actually turned out a lot nicer than I thought it would, but there are still areas that definitely could be better, and will keep working on those skills as I continue with C&R. Kathy already had a chain that goes very nicely with it, so she used that when taking the “finished product” pictures.
Anyway, I’ve already got plans for my next C&R piece, and just love what can be done with the process, in whole or in part, to produce jewelry. I am very excited to have learned this, and plan to incorporate a lot more C&R into my future work!
